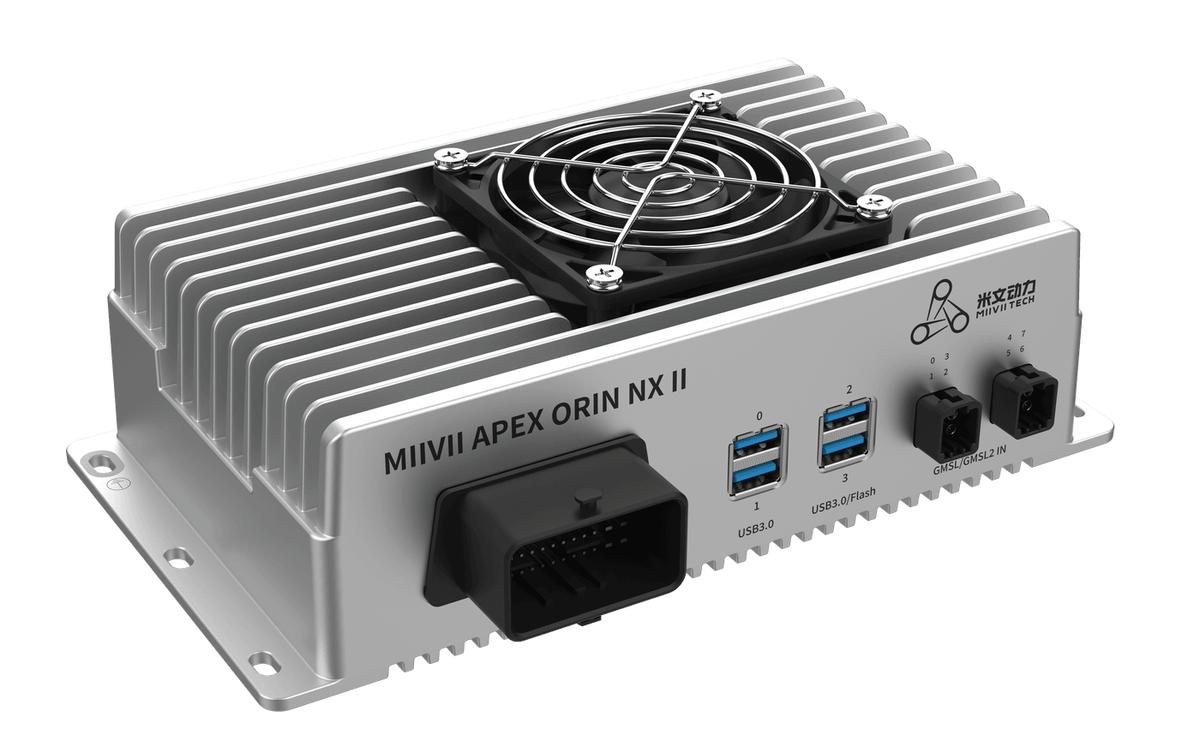
APEX ORIN NX II ZED-X Camera Usage#
Usage#
Functions#
ZED-X stereo cameras support plug-and-play operation and can be used together with other monocular cameras.
Limitations:
Only one ZED-X can be connected at a time.
ZED-X can be connected only to video0 or video1. When using video0** or video1, ensure that video1 or video0 **is set to NONE
Connect monocular cameras to other available ports, such as video2, and avoid port conflicts.
Install the ZED SDK#
Download the Package#
From https://www.stereolabs.com/developers/release/4.2, download ZED SDK v4.2.5.
Install the Software#
Note: Use SDK v4.2.5.
# Install the dependency.
sudo apt install zstd
# This example assumes that the downloaded package is named ZED_SDK_Tegra_L4T35.3_v4.2.5.zstd.run.
chmod +x ZED_SDK_Tegra_L4T35.3_v4.2.5.zstd.run
./ZED_SDK_Tegra_L4T35.3_v4.2.5.zstd.run
# After installing the SDK, check that the ISP files are in the correct directory.
ls /var/nvidia/nvcam/settings/
README.txt       zedx_ar0234.isp  zedx_imx678.isp

# If the ISP files are missing, copy them to the required directory manually.
sudo cp /usr/local/zed/firmware/ZEDX/*.isp /var/nvidia/nvcam/settings/

# Set the ISP file ownership and permissions so that Argus can access it.
sudo chown root:root  /var/nvidia/nvcam/settings/zedx_ar0234.isp
sudo chmod 664 /var/nvidia/nvcam/settings/zedx_ar0234.isp
sudo systemctl restart nvargus-daemon.service
Stereo Camera Configuration#
Camera Configuration#
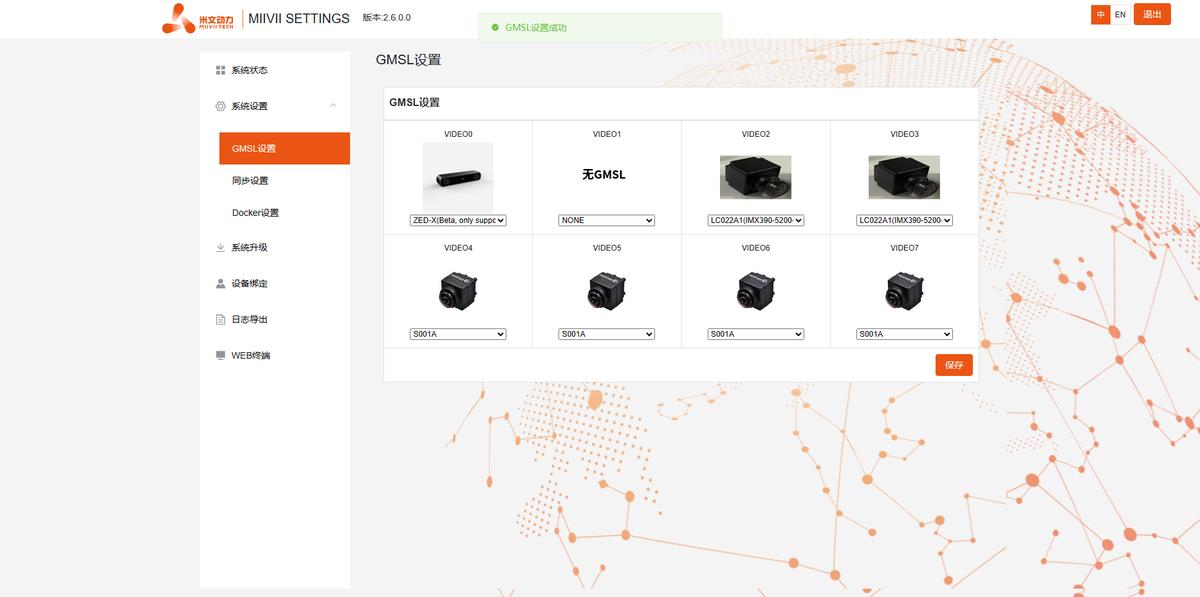
** Configure the ZED-X Ports**:
Open the camera settings page and confirm the physical port used by ZED-X (video0 or video1).
Set the unused port to “NONE”. For example, if ZED-X is connected to video0, set video1 to NONE in the configuration file.
** Configure the Monocular Camera Ports**:
Connect monocular cameras to ports other than video0 and video1, such as video2.
In the device management interface, ensure that the port numbers match the software configuration.
Using the Cameras#
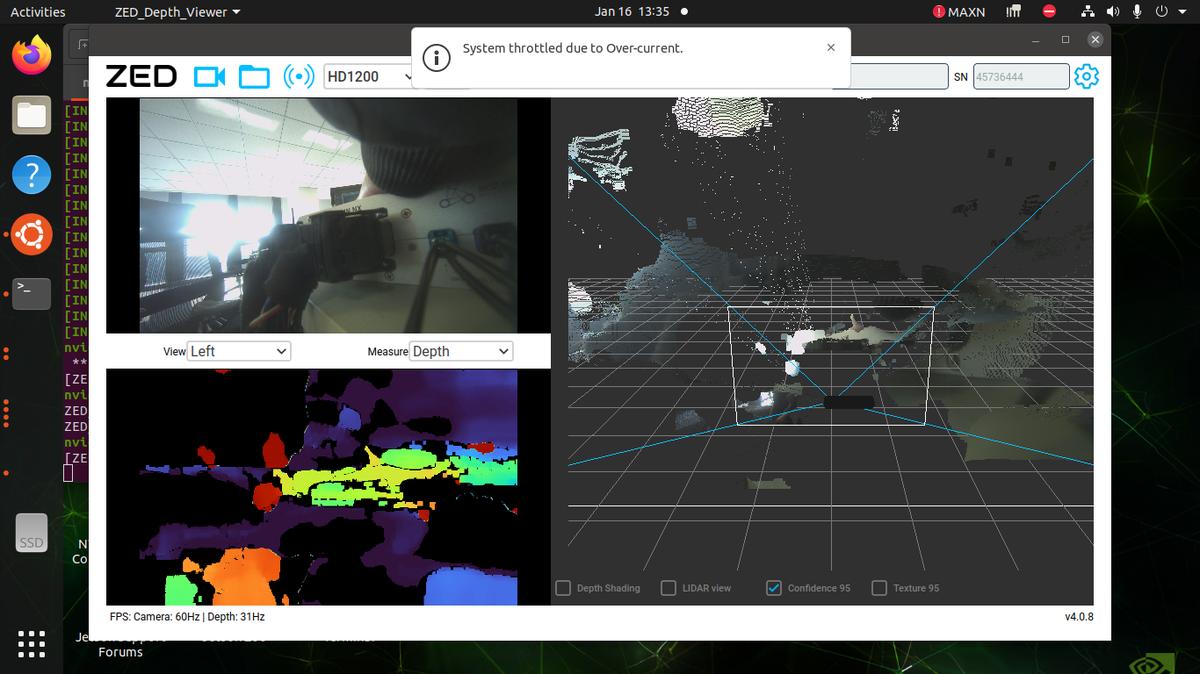
# Set the system clocks to MAX.
sudo jetson_clocks

# This example assumes the default installation directory.
# This command downloads the calibration file for the ZED-X serial number. If the download fails, the ZED SDK cannot open the camera.
/usr/local/zed/tools/ZED_Depth_Viewer

# If the calibration file download fails, open the following URL and replace CAMERA_SN with the actual camera serial number.
http://calib.stereolabs.com/?SN=CAMERA_SN

# After downloading the file, copy it to the following directory. This example assumes serial number 10010.
cp SN10010.conf  /usr/local/zed/settings/
Using Stereo and Monocular Cameras Together#
Camera Configuration#
Using the Cameras#
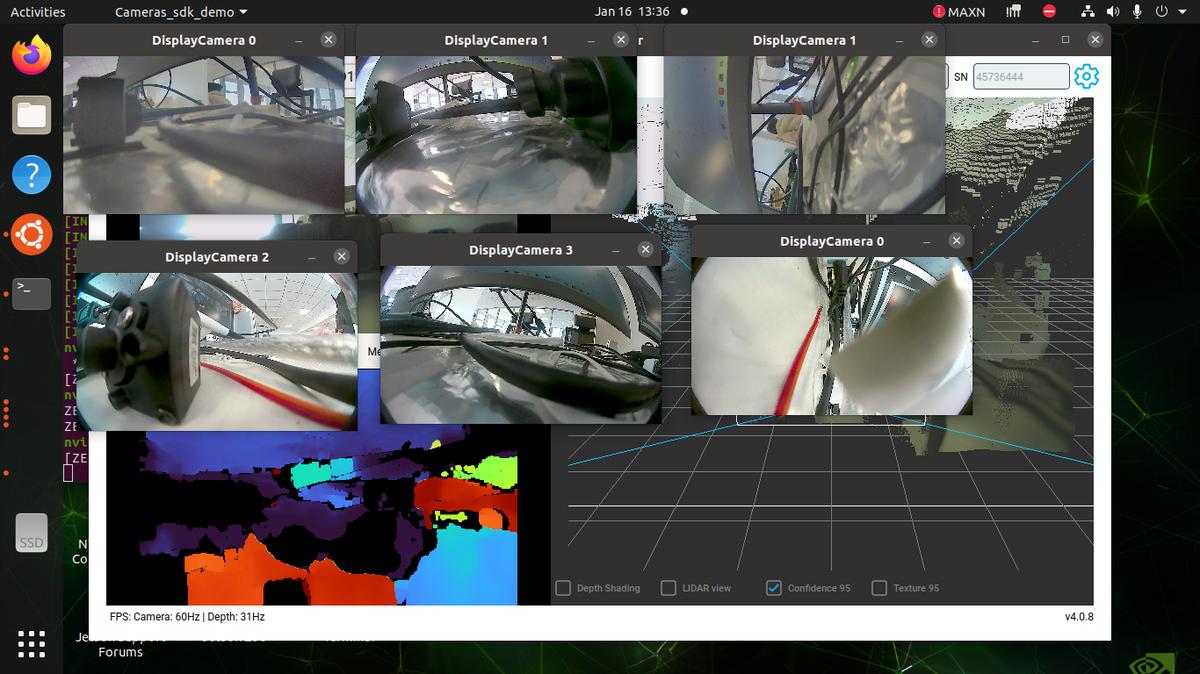
# If you are using the same cameras as in the illustration, preview the non-ZED cameras with the following command.
/opt/miivii/features/gmsl_camera/bin/cameras_sdk_demo -d /dev/video2 -s 1920x1080 -m 2 & /opt/miivii/features/gmsl_camera/bin/cameras_sdk_demo -d /dev/video4 -s 1280x720 -m 4
Troubleshooting#
Symptom: A connected ZED-X camera cannot be opened with ZED_Depth_Viewer.#
Check 1: Image Version#
Step 1: Check Whether the Image Supports ZED-X#
Currently, only specific APEX ONX image versions and AD10 6.0 images support ZED-X on MIIVII devices. Other standard product image versions do not currently support it. Contact Technical Support if you need an image that supports ZED-X.
Check 2: Hardware Connections#
Step 1: Check the GMSL Connector for Damage#
Visually inspect the GMSL connector for deformation or damage.
If the connector is damaged, contact MIIVII After-Sales Support for repair or replacement.
If the connector is normal, continue with “Step 2”.
Step 2: Check the Camera Cable and GMSL Camera#
If spare cables or cameras are available, connect a cable or camera known to work to the device and cross-check to identify the fault.
If the cable and camera are normal, continue with “Check 3: Camera Configuration”.
If the cable or camera is faulty, replace it.
Check 3: Camera Configuration#
Step 1: Check Whether the Camera Is Connected to the Wrong Port#
Only one ZED-X can be connected at a time.
ZED-X can be connected only to video0 or video1. When using video0 or video1 , ensure that video1 or video0 is set to NONE.
If the camera port is correct, continue with “Step 2”.
If the camera port is incorrect, change it.
Step 2: Check the Web GUI Configuration#
Open Web GUI > GMSL Settings, confirm that the selected camera model matches the camera in use, and save the configuration successfully.
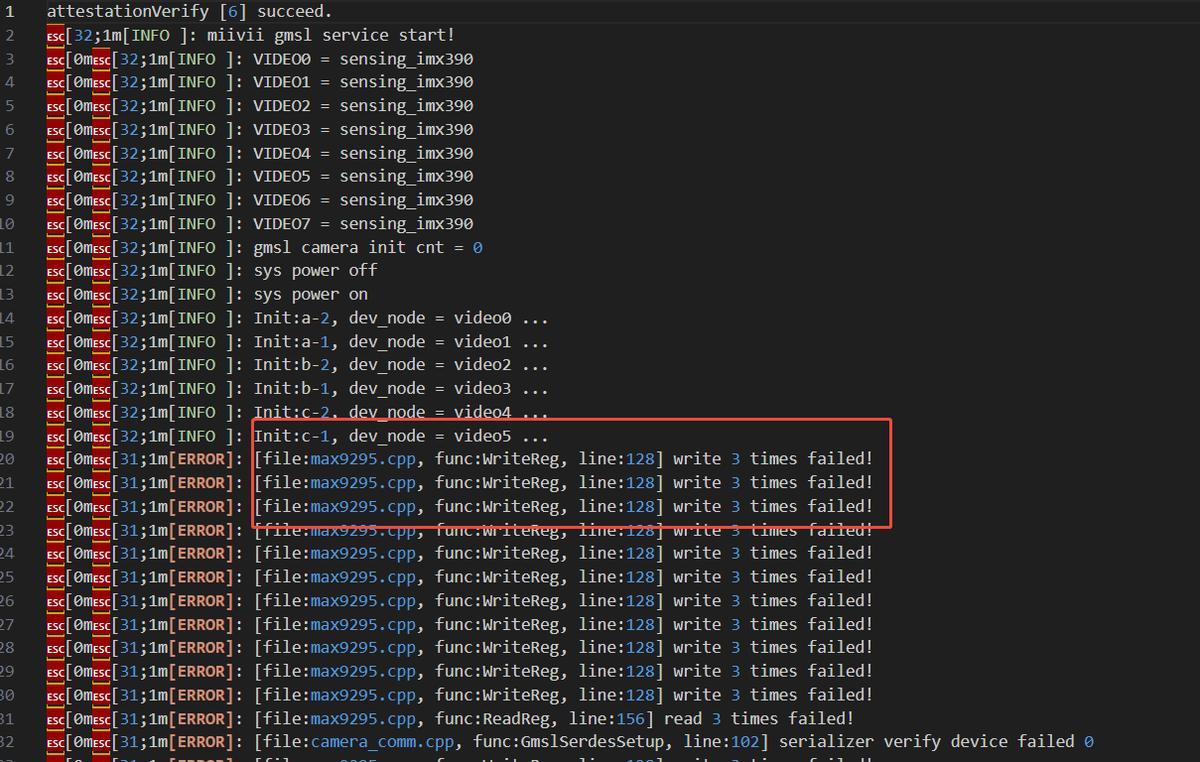
Check /var/log/gmsl_camera.log to confirm whether the configuration was saved successfully.
If the connection is abnormal, as shown below, repeat “Check 2: Hardware Connections”.
If the correct camera model is selected and the configuration was saved successfully, continue with “Step 3”.
If the configuration is incorrect, correct it and try opening the camera again.
Step 3: Check Whether the Camera Was Hot-Plugged After Configuration#
If the camera was hot-plugged, configure it again in the Web GUI or restart the camera service (miivii_gmsl2_service).
If the camera was not hot-plugged, continue with “Check 4: Other Camera Connections”.
Check 4: Other Camera Connections#
Step 1: Check Whether Other Cameras Are Connected#
If other GMSL cameras are connected, they must not share a serializer with the ZED camera. Where possible, connect the GMSL cameras to video4-7.
If no other cameras are connected, continue with “Check 5: Software Environment”.
Check 5: Software Environment#
Step 1: Check the Software Environment#
Reference: System Features: ZED-X Stereo GMSL Camera Support.pdf.
Pay particular attention to the ZED SDK version (Note: v4.2.x is not currently supported. Use v4.1.3).
If the software environment is correct, continue with “Check 6: Collect Logs”.
Check 6: Collect Logs#
Connect the device to the Internet, open a terminal, and enter:
curl -sSL https://doc.miivii.com/scripts/run_miivii_diagnostic.sh | sudo bash -s gmsl
Export the logs and the files under /var/log, upload them to the support ticket, and submit them to MiiVii Technical Support.