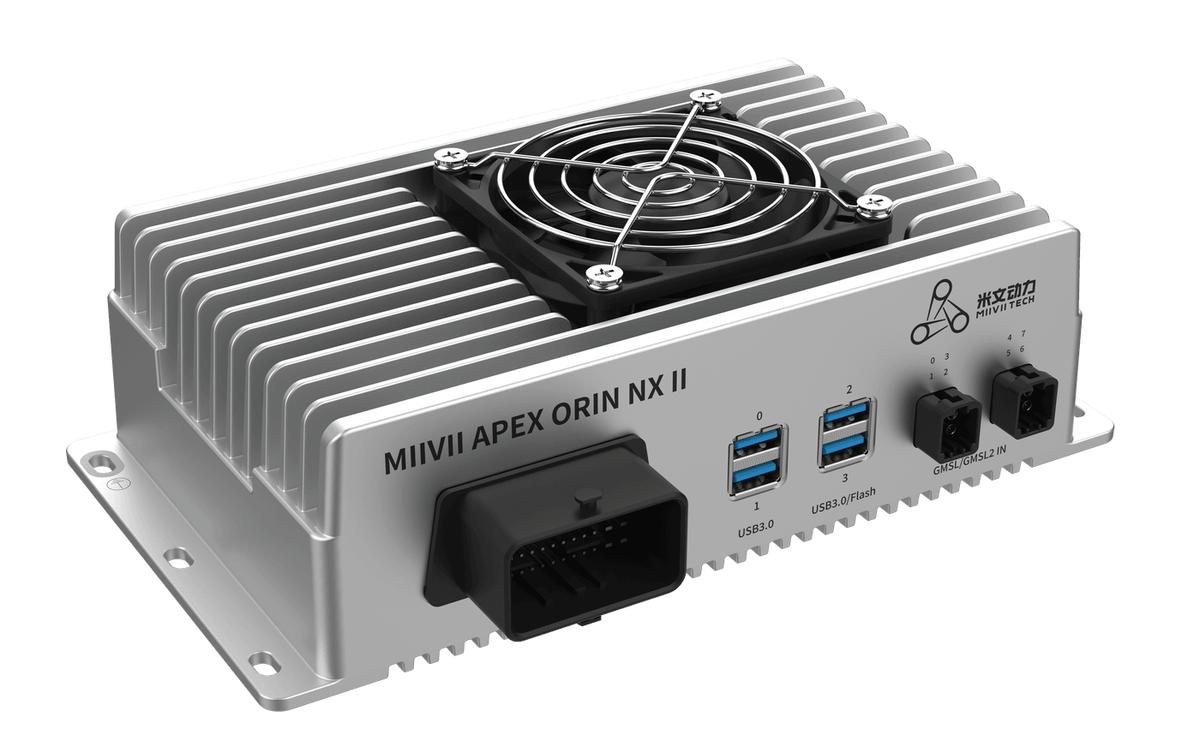
APEX ORIN NX II GMSL Camera Basics#
Configuration#
Select the Camera Operating Mode#
Operating Mode |
Mode Description |
Usage Differences |
Notice |
|---|---|---|---|
Camera Self-Triggering |
Once powered on, the camera captures images at its supported default frame rate. |
Images can be captured using standard Linux methods or the SDK. |
All cameras must use the same operating mode. |
Purpose:#
This mode is the most convenient option when you only need a camera video stream and have no special requirements.
This mode lets you quickly connect GMSL cameras and obtain live image streams without complex configuration. Once a camera is correctly connected and powered on, it automatically operates at its supported factory-default frame rate.
Key Benefits:#
Simple setup and quick startup: No low-level drivers or complex scripts are required. In the Web GUI (System Settings > GMSL Settings), select the camera model and number for each channel, then click Save to complete the basic configuration.
Clear operation and status: The Web GUI clearly shows the configuration status of each channel.
Applications:#
Device installation and initial testing: Engineers can quickly install cameras on site and check their physical connections and basic functionality.
Prototyping and validation: Algorithm engineers and students can quickly obtain image data to validate prototypes during the early stages of vision algorithm development.
General applications without strict synchronization requirements: This default mode is suitable when multiple cameras do not require synchronized exposure within microseconds.
GMSL Web Settings#
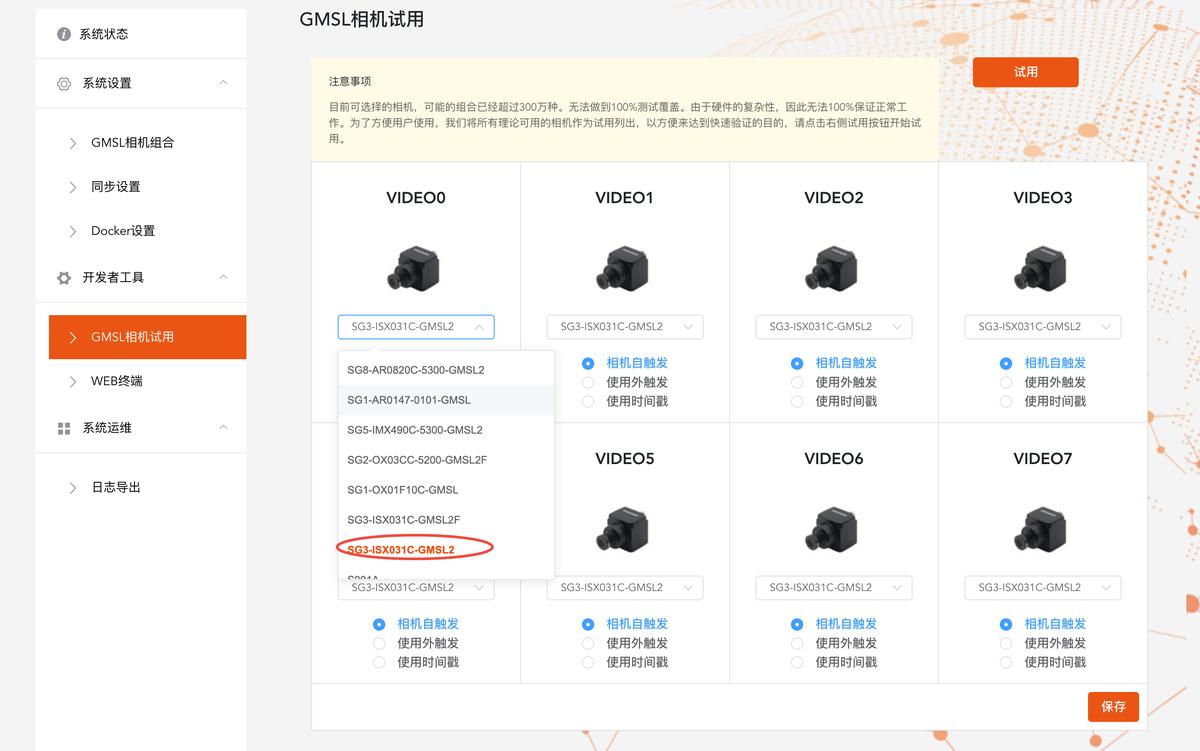
Select System Settings > GMSL Settings in the left menu.
Select the camera model and camera number for each channel to match the corresponding port silkscreen number.
Click Save.
Wait until the system confirms that the GMSL settings were saved successfully. The GMSL cameras are then ready to use.
Check GMSL Camera Parameters#
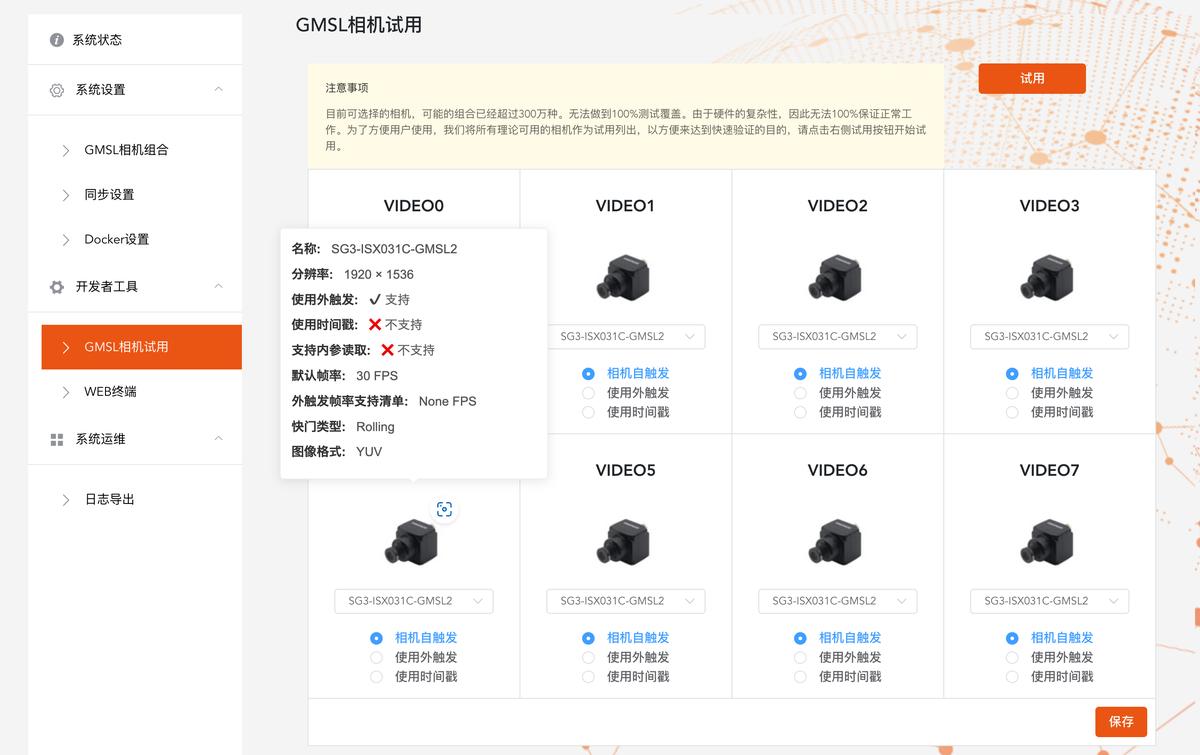
Select a camera.
Move the mouse pointer over the camera icon.
A pop-up window shows the camera features.
Usage#
Video Output#
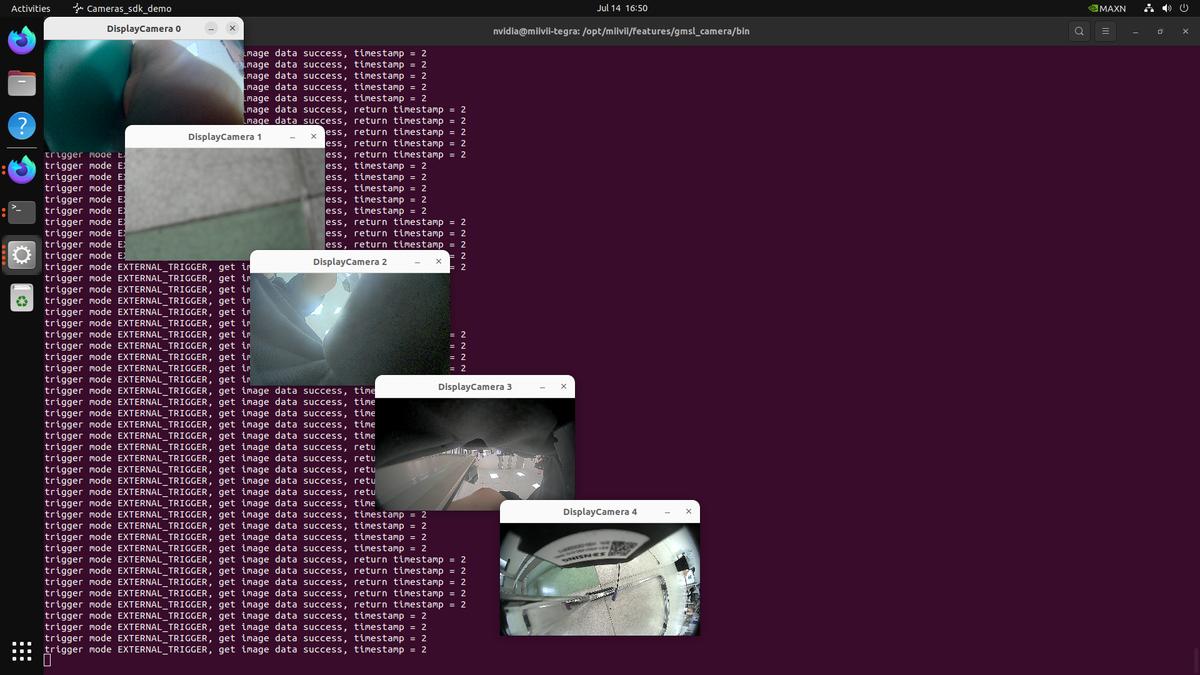
Use the following commands to quickly open the camera and check the image.
Method 1: Open Cameras Without Specifying Parameters#
Open the Cameras#
sudo chmod +x /opt/miivii/features/gmsl_camera/bin/cameras_sdk_demo
cd /opt/miivii/features/gmsl_camera/bin/
# Open all cameras automatically. To open an individual camera, specify the camera channel.
./cameras_sdk_demo
#
Performance Solution#
cameras_egl_demo: The EGL demo captures camera images directly using v4l and OpenCV.
/opt/miivii/features/gmsl_camera/bin/cameras_egl_demo -s 1280x720 -d /dev/video0
Performance and Ease of Use#
cameras_opencv_demo: The OpenCV demo uses EGL for display, providing efficient image rendering.
/opt/miivii/features/gmsl_camera/bin/cameras_opencv_demo -s 1280x720 -d /dev/video0
Method 2: Open Cameras by Specifying Camera Parameters#
Display One 720P Camera#
gst-launch-1.0 -v v4l2src device="/dev/video1" ! video/x-raw,width=1280,height=720,format=UYVY ! xvimagesink
Display One 1080P Camera#
gst-launch-1.0 -v v4l2src device="/dev/video0" ! video/x-raw,width=1920,height=1080,format=UYVY ! xvimagesink
Troubleshooting#
Symptom: The camera frame rate differs from the manual#
Contact MIIVII Sales for customized support. The available external trigger frame rates have been verified in actual testing.
Symptom: External trigger mode is selected, but the actual frame rate does not follow the trigger rate#
Confirm that the correct camera model is selected in the configuration.
Ask the camera manufacturer whether the camera supports external trigger mode.
Symptom: The camera does not start or displays a black screen#
Check hardware compatibility: Confirm that the camera model is on the device compatibility list. Contact the manufacturer for the latest list.
Check that the camera connector is firmly seated and the cable is free of damage or corrosion.
Check the configured device node: In the device Web GUI, ensure that the selected camera number matches the physical port, for example, port 2 corresponds to “Camera 2”.
After reconnecting a camera, save its configuration again in the Web GUI or restart the service for the settings to take effect.
Symptom: The image is green#
Replace the cable. Many green-screen problems are related to cabling.
Swap camera positions to test them. Many green-screen problems are also related to camera firmware.
Ask the camera manufacturer to confirm that the firmware output image format matches the supported camera format.
If the formats differ, ask the camera manufacturer to update the firmware or contact MIIVII Sales for support.
If the Above Steps Do Not Resolve the Issue#
# Run the following command to collect logs, and send the logs to Technical Support.
curl -sSL https://doc.miivii.com/scripts/run_miivii_diagnostic.sh | sudo bash -s gmsl