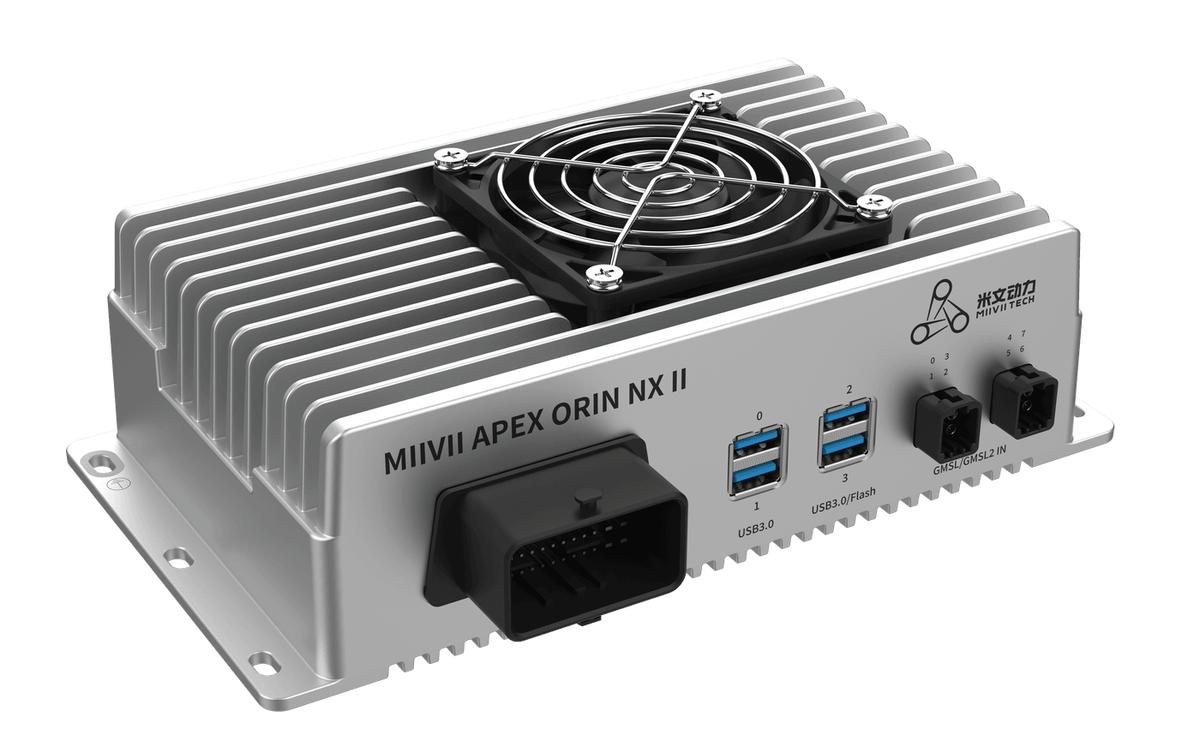
APEX ORIN NX II RS485 Interface#
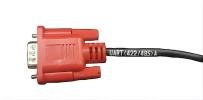
Hardware Definition#
RS485/422 DB9 Port Pin Definition:
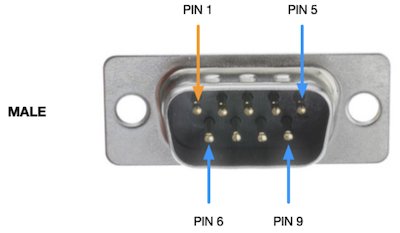
Pin |
Signal |
|---|---|
1 |
UART(485) |
2 |
UART(485) |
5 |
GND |
Relationship between Functions and Device Nodes#
Function |
Overview |
Device Node |
|---|---|---|
UART(485)A |
Orin 485 A |
/dev/ttyUART_485_A |
UART(485)B |
Orin 485 B |
/dev/ttyUART_485_B |
UART(485)C |
Orin 485 C |
/dev/ttyUART_485_C |
Usage#
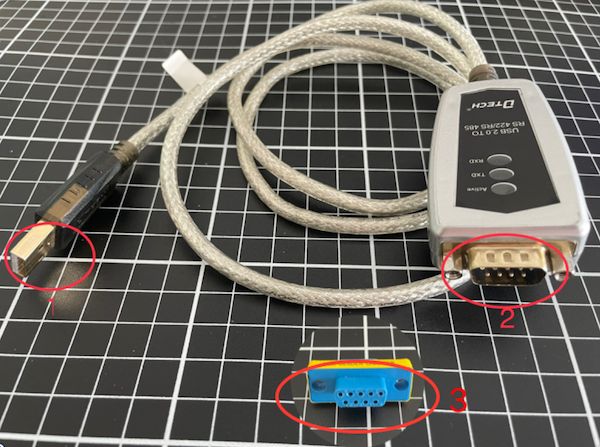
Connect connector 1 to the PC
Connect connector 2 to DB9 female-to-female crossover adapter 3
Connect connector 3 to the required DB9 422/485 connector
Preparation#
PC (Ubuntu)
# Install
sudo apt-get install putty -y
Device
# Install
sudo apt-get install putty -y
Transmit and Receive Verification#
Device
# Open PuTTY
sudo putty
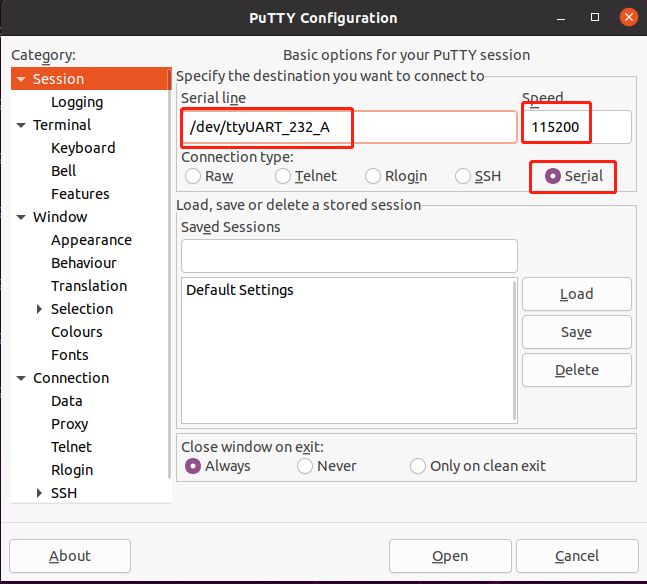
In PuTTY, configure “Session”: enter the connected device node in “Serial line”, set “Speed” to 115200, and select “Serial” under “Connection type”.
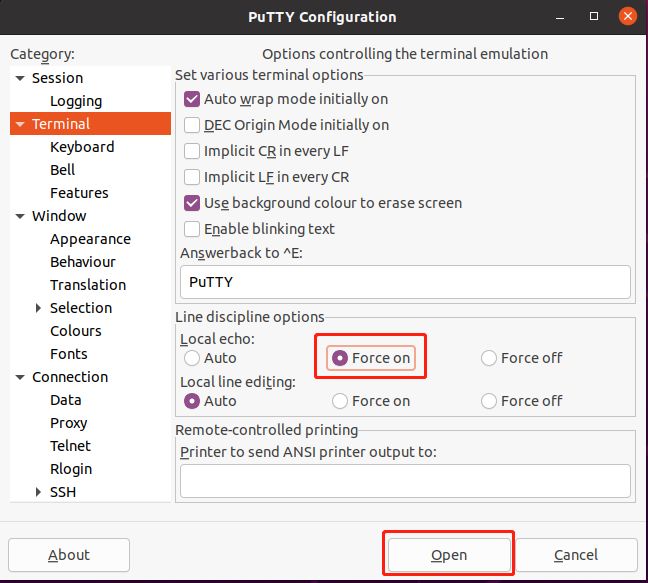
Under “Terminal”, select “Force on” in “Line discipline options”, then click “Open” to enter the data transfer window.
PC
Obtain the UART Device Node on the PC
# After connecting the USB-to-serial module to the PC, run the following command to obtain the UART device node:
ls /dev | grep -E 'ttyUSB[0-9]+' | sort -V | tail -n 1

# Open PuTTY
sudo putty
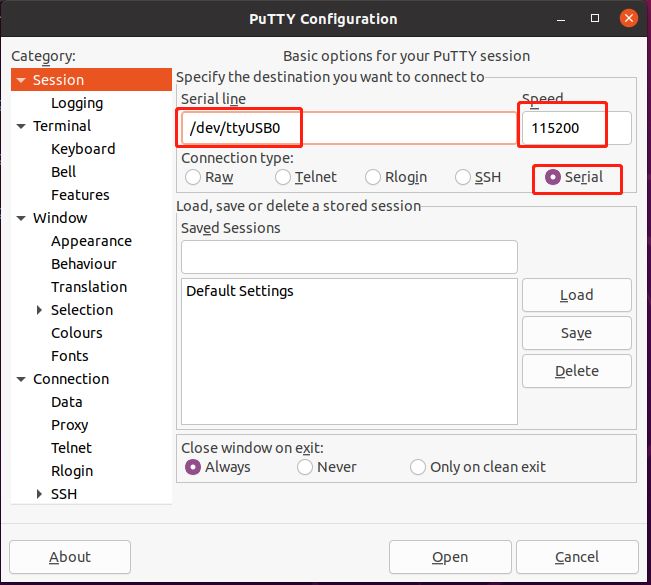
In PuTTY, configure “Session”: enter the connected device node in “Serial line”, set “Speed” to 115200, and select “Serial” under “Connection type”.
Under “Terminal”, select “Force on” in “Line discipline options”, then click “Open” to enter the data transfer window.
Use PuTTY to Verify Transmission and Reception
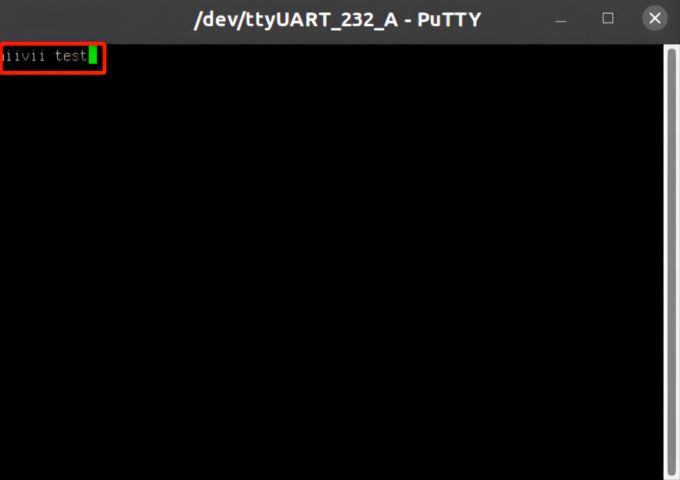
Observe the data transfer windows on the device and PC. Enter text in either window. If both windows display the same text, transmission and reception are successful.
PC Display
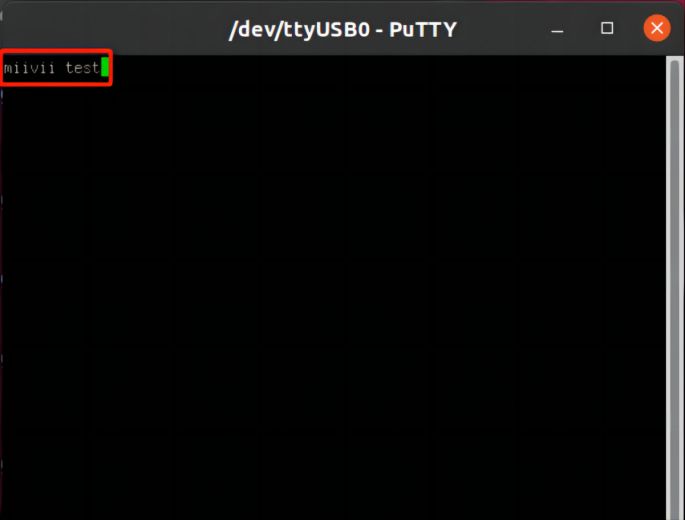
Device Display
|