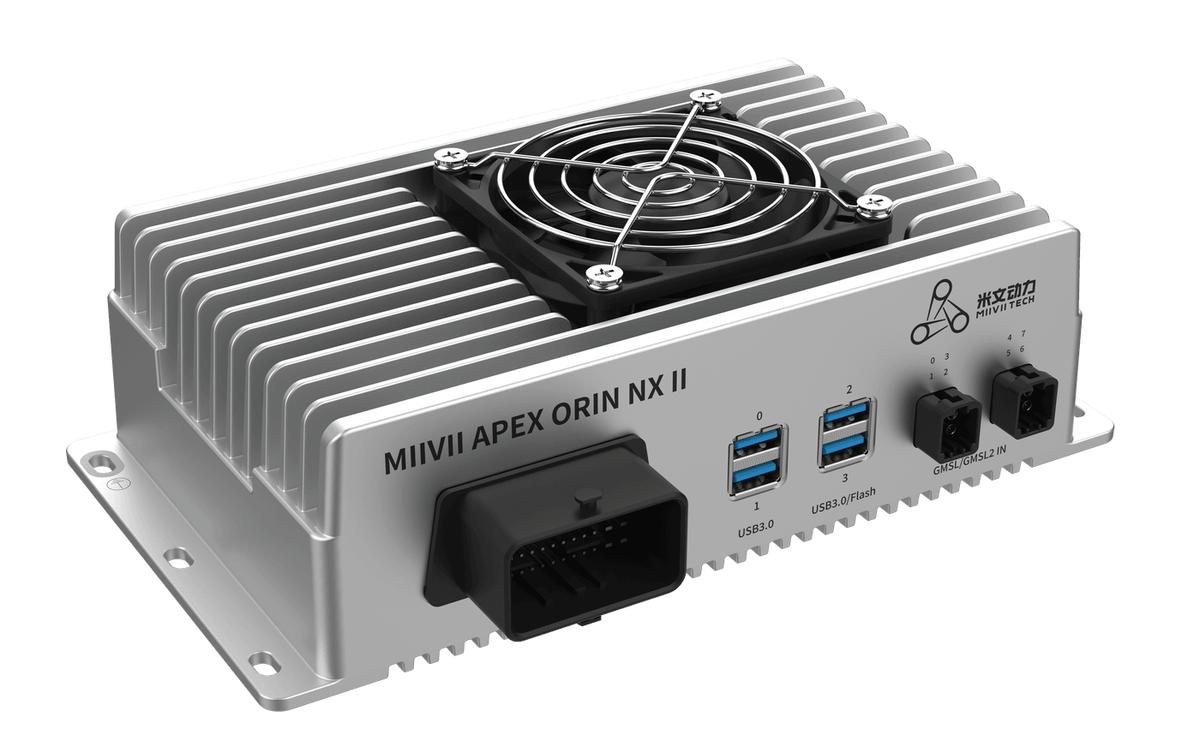
APEX ORIN NX II Firmware Flashing#
Enter Recovery Mode#
Connect the 48-pin I/O harness.
Hold the Recovery button while cycling the device power.
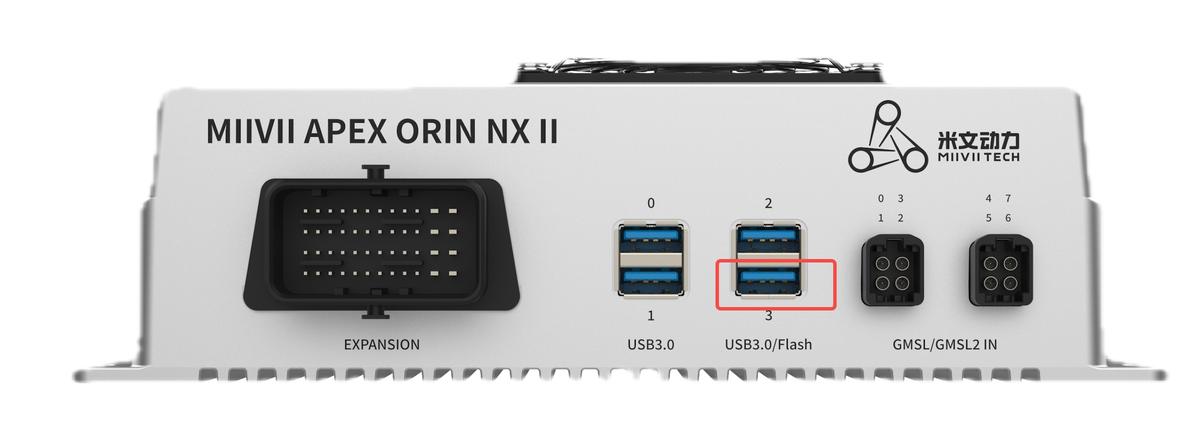
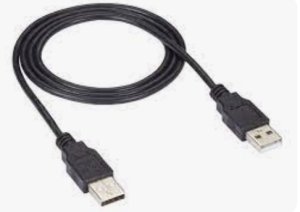
Use a USB data cable to connect the PC to the device’s flashing port.
On the flashing PC, check that the device is in Recovery mode.
# Run this command
lsusb
# Example output when the device is in Recovery mode
Bus 001 Device 011: ID 0955:7023 NVidia Corp
After Orin NX enters Recovery mode, it automatically starts booting if the flashing port is not connected to a PC within 60 seconds. Connect the PC within this period.
Overview#
MIIVII Flashing Tool supports MIIVII devices. It provides image flashing, cloning, and small-batch production functions.
Main features:
Automatically checks the host environment
Automatically detects the latest available image
Includes an image downloader
Supports batch flashing
Supports image cloning (the bootloader version must match when reflashing a cloned image)
Preparation#
Hardware#
Flashing Host#
Connect the flashing host to the MIIVII device to flash an image.
Recommended flashing-host configuration:
CPU: Intel Core processor, four cores, 1.7 GHz or higher
Memory: 8 GB or more
System Requirements
EXT4 file system
At least 40 GB of free disk space
Host OS Version
SDK Version |
Ubuntu |
|---|---|
JetPack 4.x |
16.04 LTS or 18.04 LTS |
JetPack 5.x |
18.04 LTS or 20.04 LTS |
JetPack 6.x |
20.04 LTS or 22.04 LTS |
JetPack 7.x |
22.04 LTS or 24.04 LTS |
MIIVII device, power supply, and a USB cable with data-transfer support#
Software#
Download and install miivii-ftool on the host.
sudo apt install python3 python2.7
sudo apt-key adv --keyserver keyserver.ubuntu.com --recv-keys 05BE38FE8ADA7CD12E3281B52FC7A8453C3B8F24
sudo sh -c 'echo "deb http://upgrade.miivii.com/miiviitools/ mvtools main" > /etc/apt/sources.list.d/miivii-l4t-apt-source.list'
sudo apt update
sudo apt-get install miivii-ftool
Flash the Image#
Check that the device is in Recovery mode.#
(See the illustrated procedure at the beginning of this section.)
Open the Flashing Tool#
On Ubuntu, click Activities in the lower-left corner to display installed applications, then search for miivii-ftool.
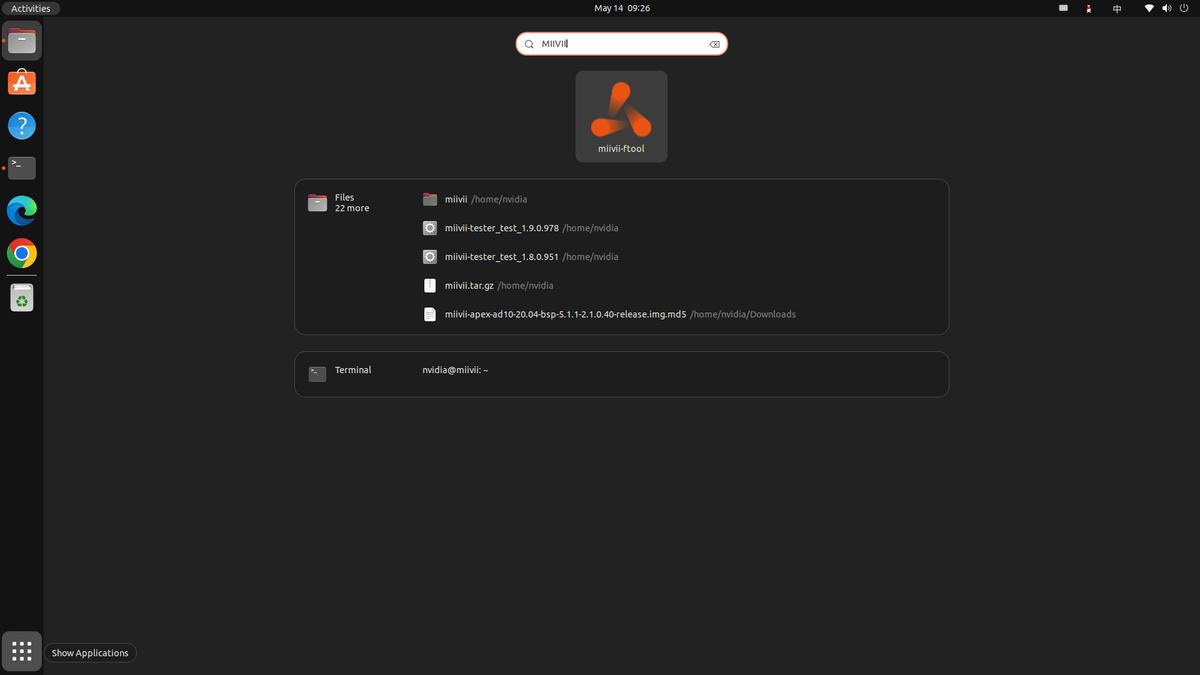
Alternatively, open a terminal (Ctrl+Alt+T) and run gtk-launch miivii-ftool.
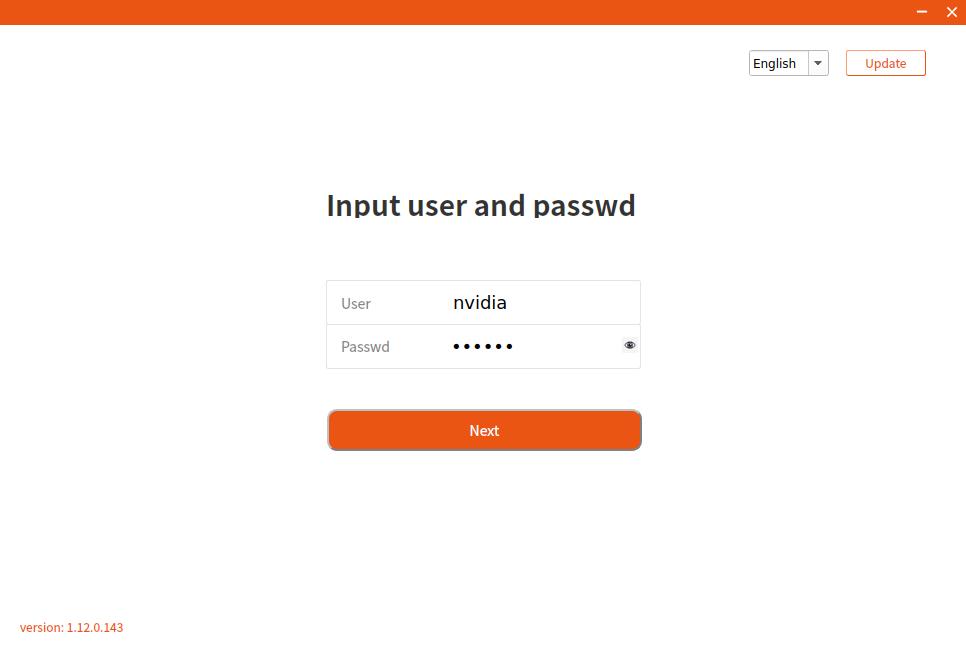
Open the application and enter the flashing host’s sudo password.
If the tool has not been updated recently, click Update in the upper-right corner to obtain support for the latest MIIVII images.
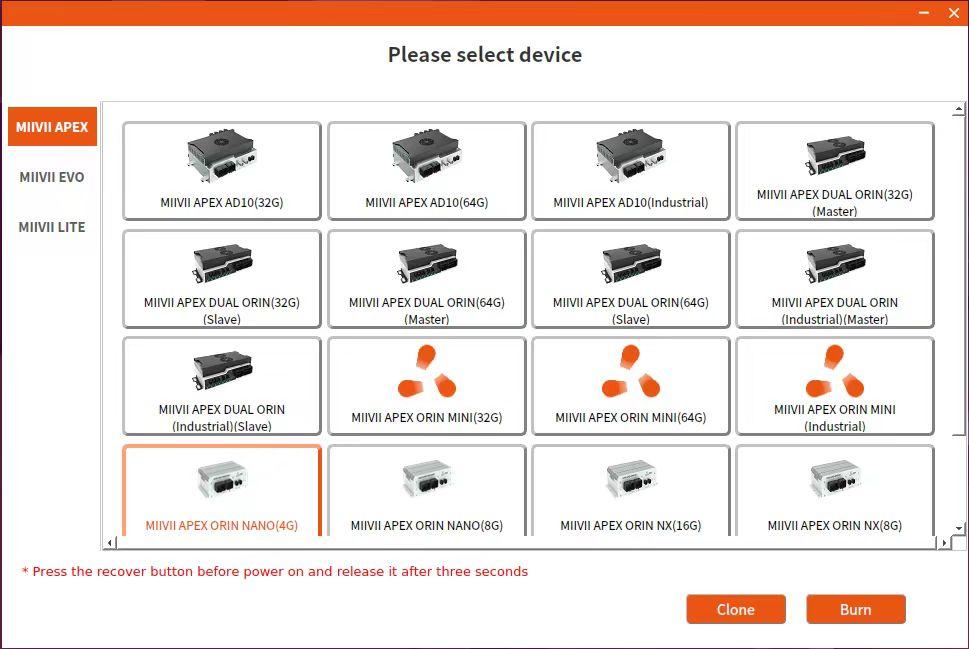
Select the device, taking care to choose the correct memory variant.
Online Flashing (Recommended; Offline Mode Is Also Available)#
Select Online Mode, then choose the JetPack version and download directory. The image is downloaded locally before it is flashed.
Click Next to download the latest flashing environment and device image for the selected version.
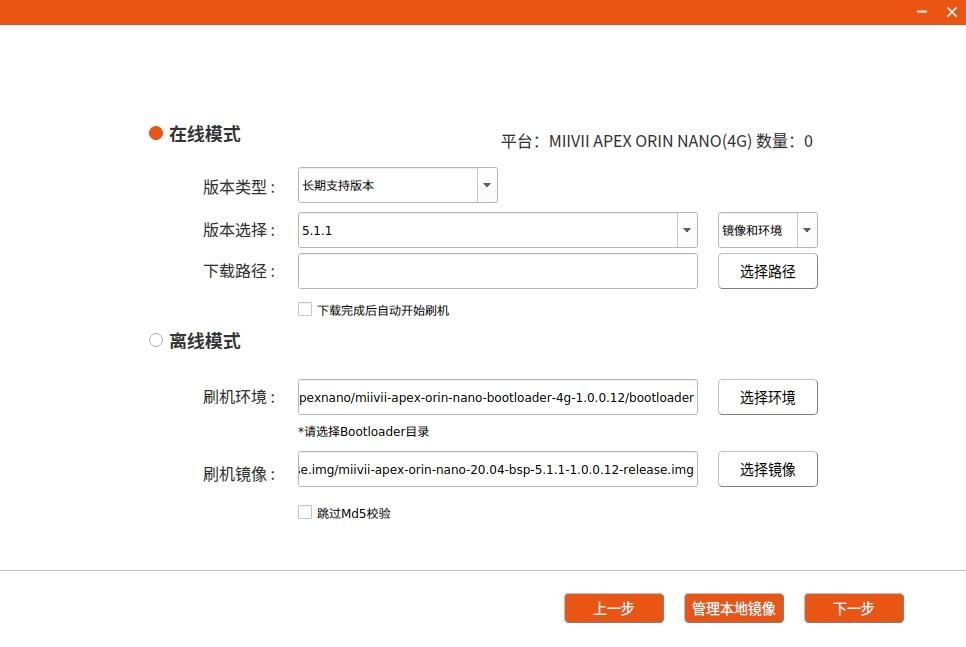
Choose whether to start flashing automatically after the download. In automatic mode, the tool extracts and verifies the downloaded package, then flashes it.
Download speed depends on the network connection and is generally up to 5 MB/s.
The large image package may take approximately 30 minutes to download, depending on network conditions.
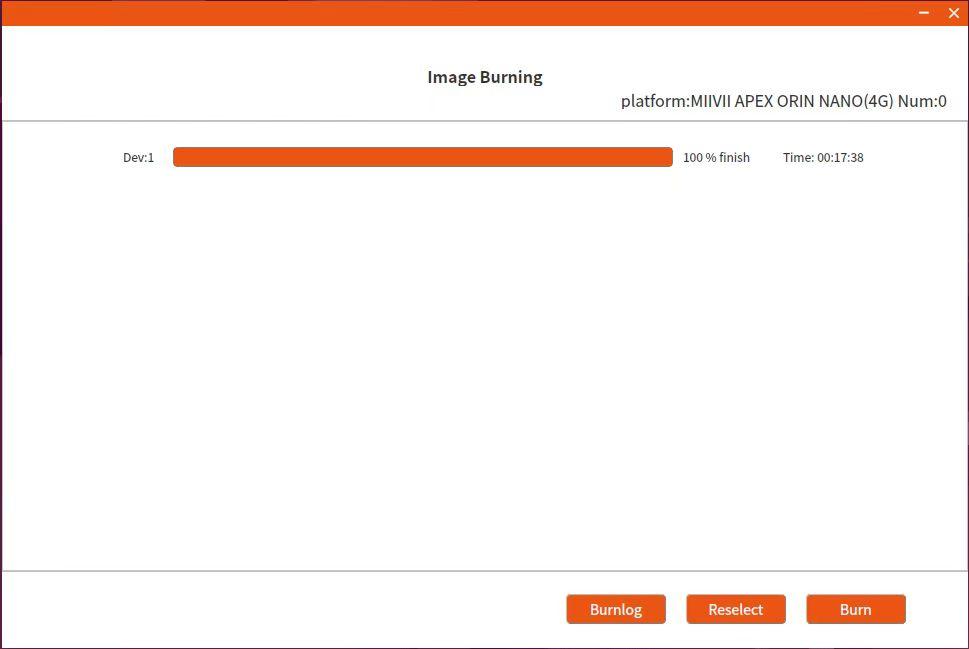
Flashing usually takes at least 15 minutes. Wait for it to finish.
The following page appears when flashing succeeds:
Troubleshooting#
If flashing fails, first check the following:
Check that the flashing host’s sudo password was entered in the tool.
Check Recovery mode (green LED steady and yellow LED slow blinking). Confirm with lsusb.
Use a suitable USB data cable rather than a charge-only cable.
Check that the flashing host’s USB port supports data transfer and works correctly.
Use an x86-64 desktop or laptop. Servers, embedded hosts, and virtual machines are not supported.
Check that the host runs the Ubuntu x64 version required by the selected JetPack version (see the Host OS Version table above).
EXT4 is the recommended file system on the flashing host.
Check that the flashing host has sufficient free disk space.
Do not use Chinese characters or other special characters in the image or flashing-tool storage path.
Symptom 1: Connections Are Correct, but the Tool Does Not Detect the Device#
Check 1: Recovery Mode#
Step 1: Run lsusb and look for NVIDIA Corp and the product family.
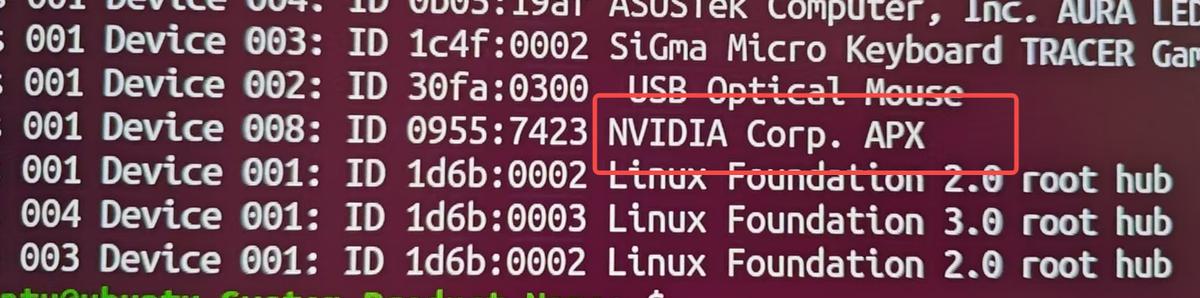
If NVIDIA Corp appears, the device is in Recovery mode. Continue to Check 3: USB ID.
If it does not appear, power off the device, hold Recovery, and power on again. If it still does not enter Recovery mode, continue to Check 2: Cabling.
Check 2: Cabling#
Step 1: Connect the device end to the flashing port.

Step 2: Check the USB Cable
Check that the Micro-USB or Type-A-to-Type-A cable, as applicable, supports data transfer and meets the required quality. If unsure, cross-check with another suitable cable.
Step 3: Connect the Flashing PC Directly Do not connect through a USB hub.
Check 3: USB ID#
Procedure:
Find the product’s USB ID in /home/$USER/.cache/miivii-ftool/lremote.json.
Run lsusb | grep -i “nvidia corp” and check the device’s USB ID.
Compare the two IDs. If they differ, check that the product selected in the tool matches the connected device.
Check 4: Flashing-PC Configuration#
Step 1: Check Hardware and System Requirements
Check that the host runs the Ubuntu x64 version required by the selected JetPack version. Refer to the Host OS Version table in the flashing preparation instructions.
EXT4 is the recommended file system on the flashing host.
Symptom 2: After Selecting the Flashing Environment and Image, the Tool Reports a Flashing-Environment Error#
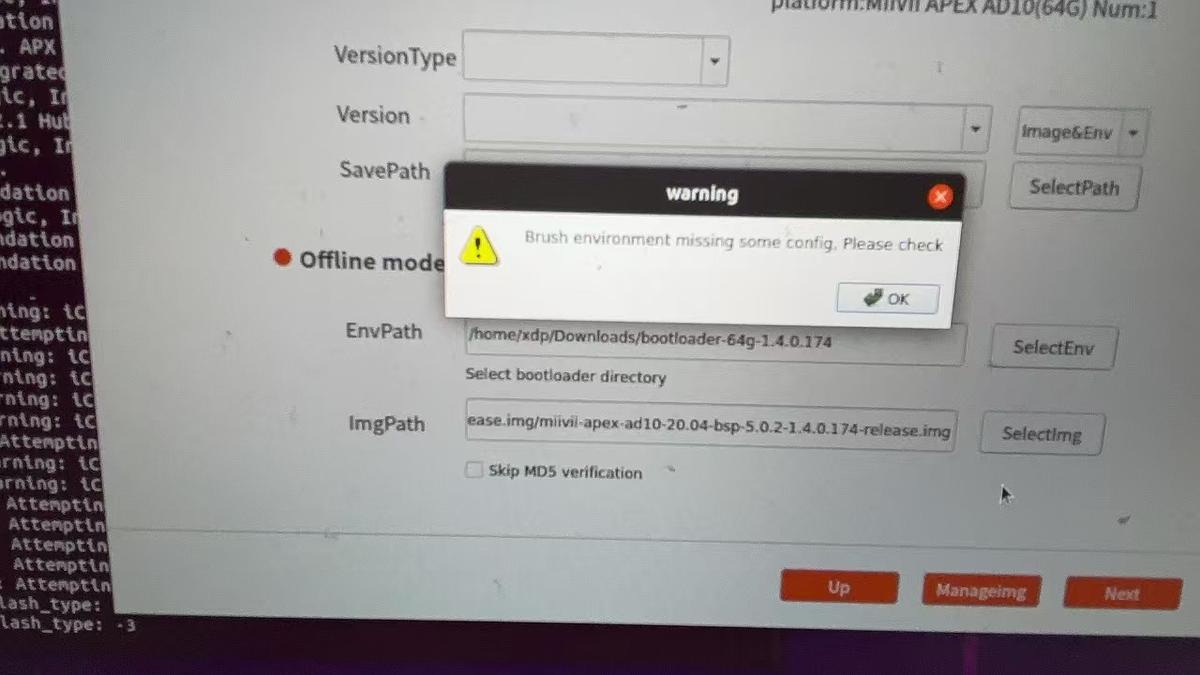
Check: Directory Ownership and Path#
Step 1: Restart the flashing tool. At login, enter the username of the account running the application.
Step 2: Check the complete directory path for Chinese characters, spaces, or other special characters. Remove them and select the path again.
Symptom 3: Flashing Logs Report Errors After Selecting the Image and Bootloader#
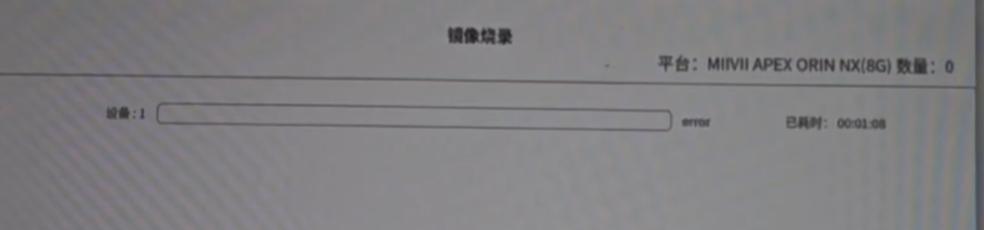
In offline mode, check that the selected device matches its corresponding bootloader. The bootloader must match both the device memory variant and image version.#
Check 1: Read the Error in the Log#
Step 1: Find the flashing log in the image directory.
Step 2: Inspect the Flashing Log
Log Error: Return Value 8
Check whether flashing system.img has started.
If it has not started, check that the bootloader and image versions match.
Check the image size and verify its MD5 checksum.
Retry flashing.
If the issue persists, try a different flashing PC.
Log Error: Return Value
Check the image version and integrity, and verify that the bootloader matches the device memory variant.
Retry with another USB cable and port.
If the issue persists, try a different flashing PC.
If all the checks above are correct, the issue should be resolved. If it persists, return the device to MIIVII for hardware inspection.
Symptom 4: The Log Reports No Module Named#
Check: Python Environment#
Step 1: Check Python 3 with python3 –version.
Step 2: Reinstall Python as appropriate for the required flashing environment.
sudo apt install python2.7 python3 python