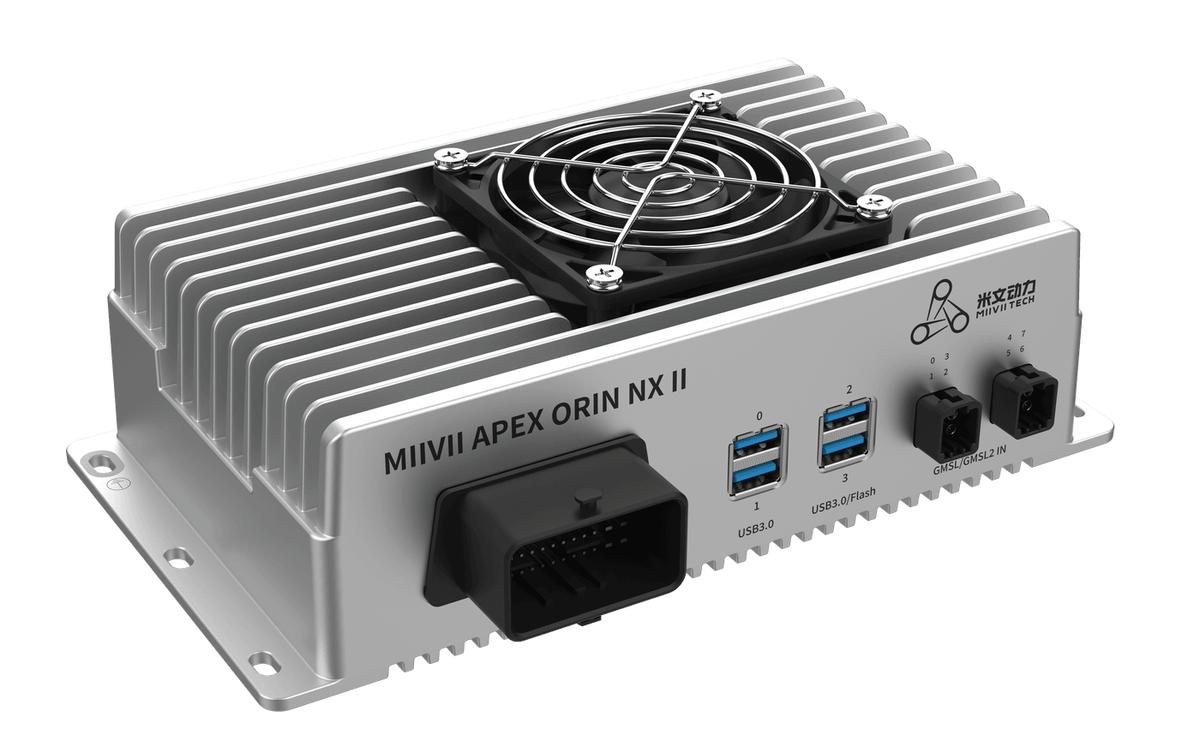
APEX ORIN NX II GMSL Camera#
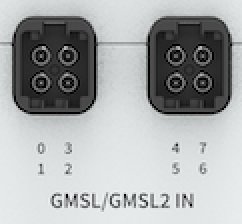
Description#
Hot-plugging is not supported
Supports signal transmission over coaxial cables up to 15 meters long
Cameras supporting output resolutions such as 720p, 1080p, and 4K are recommended
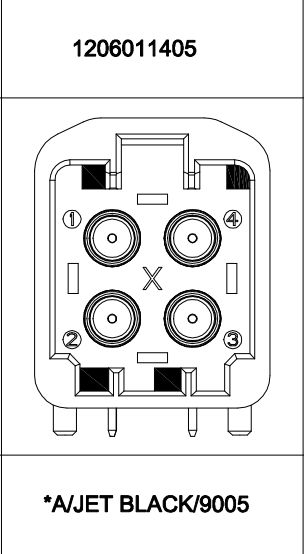
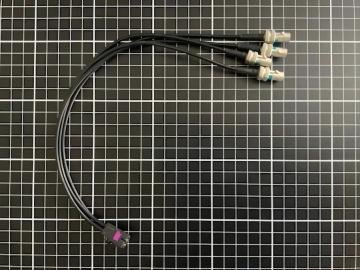
An adapter cable is recommended
Mapping Relationship of Device Nodes#
Interfaces |
Device Node |
|---|---|
GMSL 0 |
/dev/video0 |
GMSL 1 |
/dev/video1 |
GMSL 2 |
/dev/video2 |
GMSL 3 |
/dev/video3 |
GMSL 4 |
/dev/video4 |
GMSL 5 |
/dev/video5 |
GMSL 6 |
/dev/video6 |
GMSL 7 |
/dev/video7 |
GMSL Camera Troubleshooting#
Principle#
MiiVii guarantees the frame rate of data received from the hardware interface. Frame rates calculated by user applications should not be used as the sole criterion for identifying an issue. Use industry-standard tools or widely accepted test criteria.
Use v4l2-ctl to test the frame rate (install with: sudo apt install v4l-utils).
Troubleshooting Procedure#
Symptom 1: The Camera Produces Images, but the Frame Rate Differs from Its Manual#
Check 1: Verify Image Output with v4l2-ctl#
Connect the camera to the MiiVii device and configure the correct camera model in websetting. Open a terminal and enter:
v4l2-ctl --verbose -d /dev/video0 --set-fmt-video=width=1920,height=1080,pixelformat=UYVY --stream-mmap
The command above assumes a camera resolution of 1920x1080 and a camera device node of video0. Adjust these values for your actual configuration.
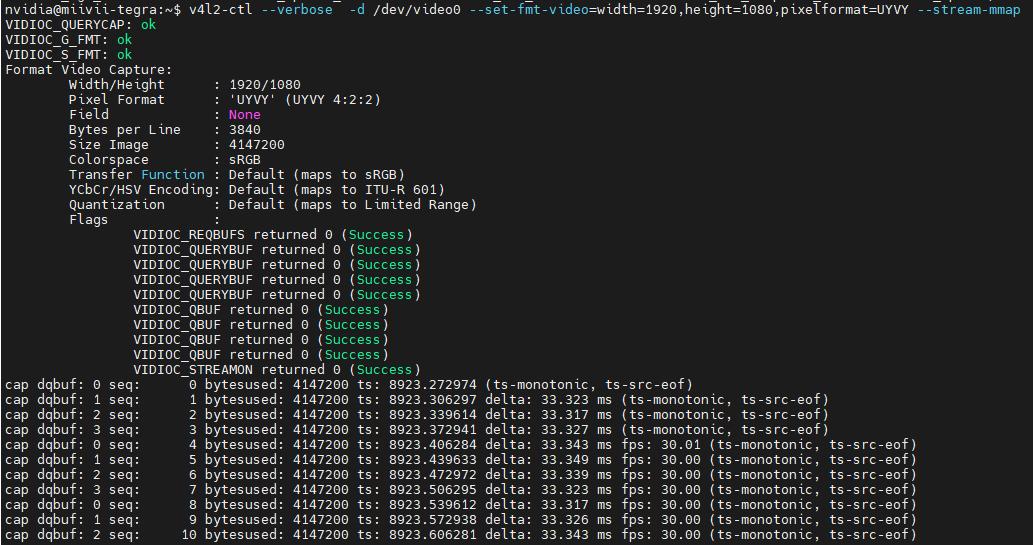
In the figure above, ts: 33.327ms corresponds to a camera frame rate of 30Hz.
Run the test several times. If the frame rate reported by v4l2-ctl consistently differs from the camera manual, contact the camera manufacturer to confirm that the firmware version is correct.
If frames are dropped, check the hardware connections. If the hardware connections are normal, proceed to “Check 2: Collect Logs”.
Check 2: Collect Logs#
Connect the device to the Internet, open a terminal, and enter:
curl -sSL https://doc.miivii.com/scripts/run_miivii_diagnostic.sh | sudo bash -s gmsl
Export the logs and the files under /var/log, upload them to the support ticket, and submit them to MiiVii Technical Support.
Symptom 2: The Camera Frame Rate Cannot Be Changed#
Check 1: Confirm Whether the Camera Supports External Triggering#
Step 1: Ask the Camera Manufacturer Whether External Triggering Is Supported#
If external triggering is supported, proceed to “Check 2: Use v4l2-ctl to Verify the Frame Rate Change”.
If external triggering is not supported, the frame rate cannot be changed.
Check 2: Use v4l2-ctl to Verify the Frame Rate Change#
Step 1: Follow “Check 1” under “Symptom 1”#
If the frame rate change did not take effect, proceed to “Check 3”.
If the measured frame rate matches the configured value, troubleshoot your application.
Check 3: Try a Small Frame Rate Adjustment#
Step 1: Use sdkdemo to Make a Small Frame Rate Adjustment(within 5FPS of the default frame rate)#
If the adjustment succeeds, ask the camera manufacturer about the frame rate adjustment range supported by the camera firmware.
If the adjustment fails, proceed to “Check 4: Ensure the Camera Synchronization Signal Is Output Correctly”.
Explanation:
CMOS hardware limitations mean that supported frame rate adjustment ranges vary even among products from the same camera manufacturer. The following general guidance applies to cameras supporting external triggering, grouped by CMOS sensor supplier:
1 2 OV CMOS sensors typically support a minimum frame rate of half the default rate plus 1. Models containing OX or OV in the camera name, such as OX08B, OX03C, and OV10640, indicate OV CMOS sensors. 2 ONSEMI CMOS sensors typically support frame rate adjustment from 1 to 30FPS. Models containing AR in the camera name, such as AR0233, AR0820, and AR0147, indicate ONSEMI CMOS sensors. 2 SONY CMOS sensors have no single uniform characteristic. The common IMX series usually supports fixed frame rates only (for example, IMX390, IMX477, and IMX728). The ISX series usually supports a minimum rate of half the default rate plus 1 (for example, ISX031 and ISX021).
Check 4: Ensure the Camera Synchronization Signal Is Output Correctly#
Step 1: Check Whether the SDK Is Running Normally#
Check the terminal for error messages.
Use sdkdemo to print timestamps and check whether triggering is normal.
If there are no errors and the timestamps are normal, ask the camera manufacturer whether this camera model supports frame rate adjustment.
If errors are reported, proceed to “Check 5, Step 2: Collect Logs”.
Check 5: Flash the Image Again to Check for a Software Environment Issue#
Step 1: Flash the Image#
Image flashing instructions: https://wiki.miivii.com/pages/viewpage.action?pageId=182034027.
If the frame rate can be changed after flashing, the issue was caused by the system software environment. Investigate your software environment.
If the frame rate still cannot be changed after flashing, proceed to “Step 2”.
Step 2: Collect Logs#
Connect the device to the Internet, open a terminal, and enter:
curl -sSL https://doc.miivii.com/scripts/run_miivii_diagnostic.sh | sudo bash -s gmsl
Export the logs and the files under /var/log, upload them to the support ticket, and submit them to MiiVii Technical Support.