EVO ONX SSD Usage#
SSD Installation:#
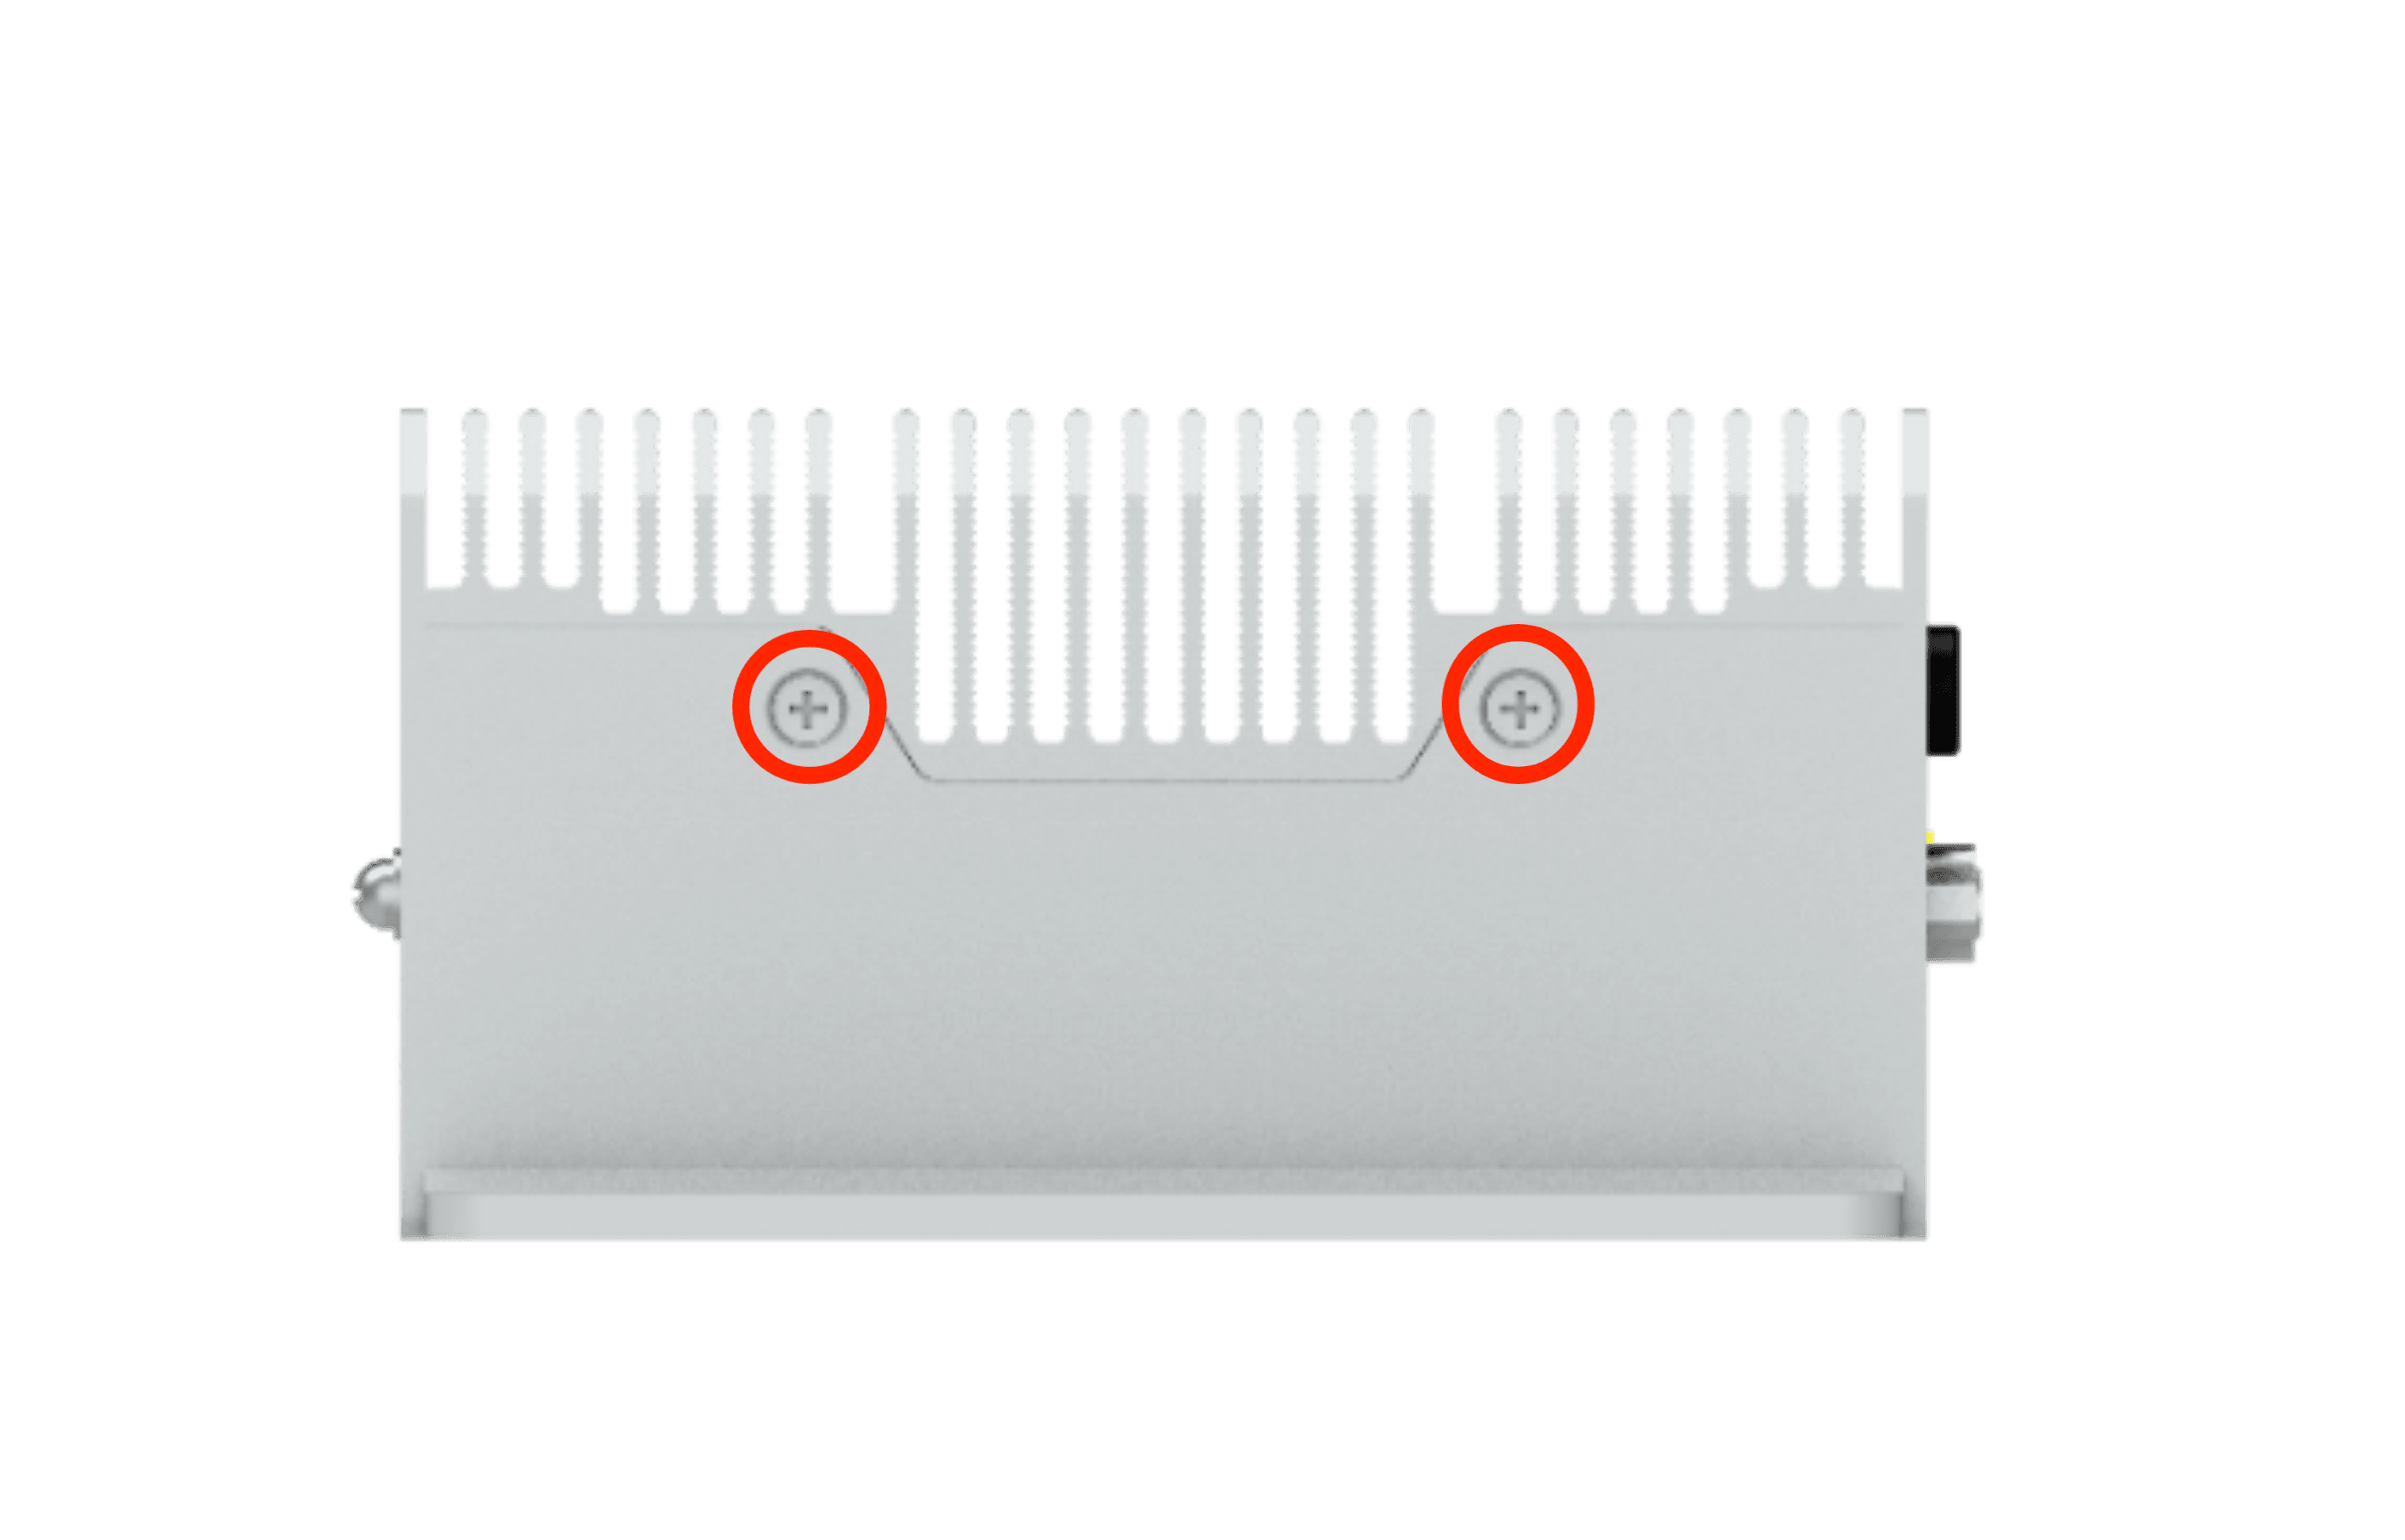
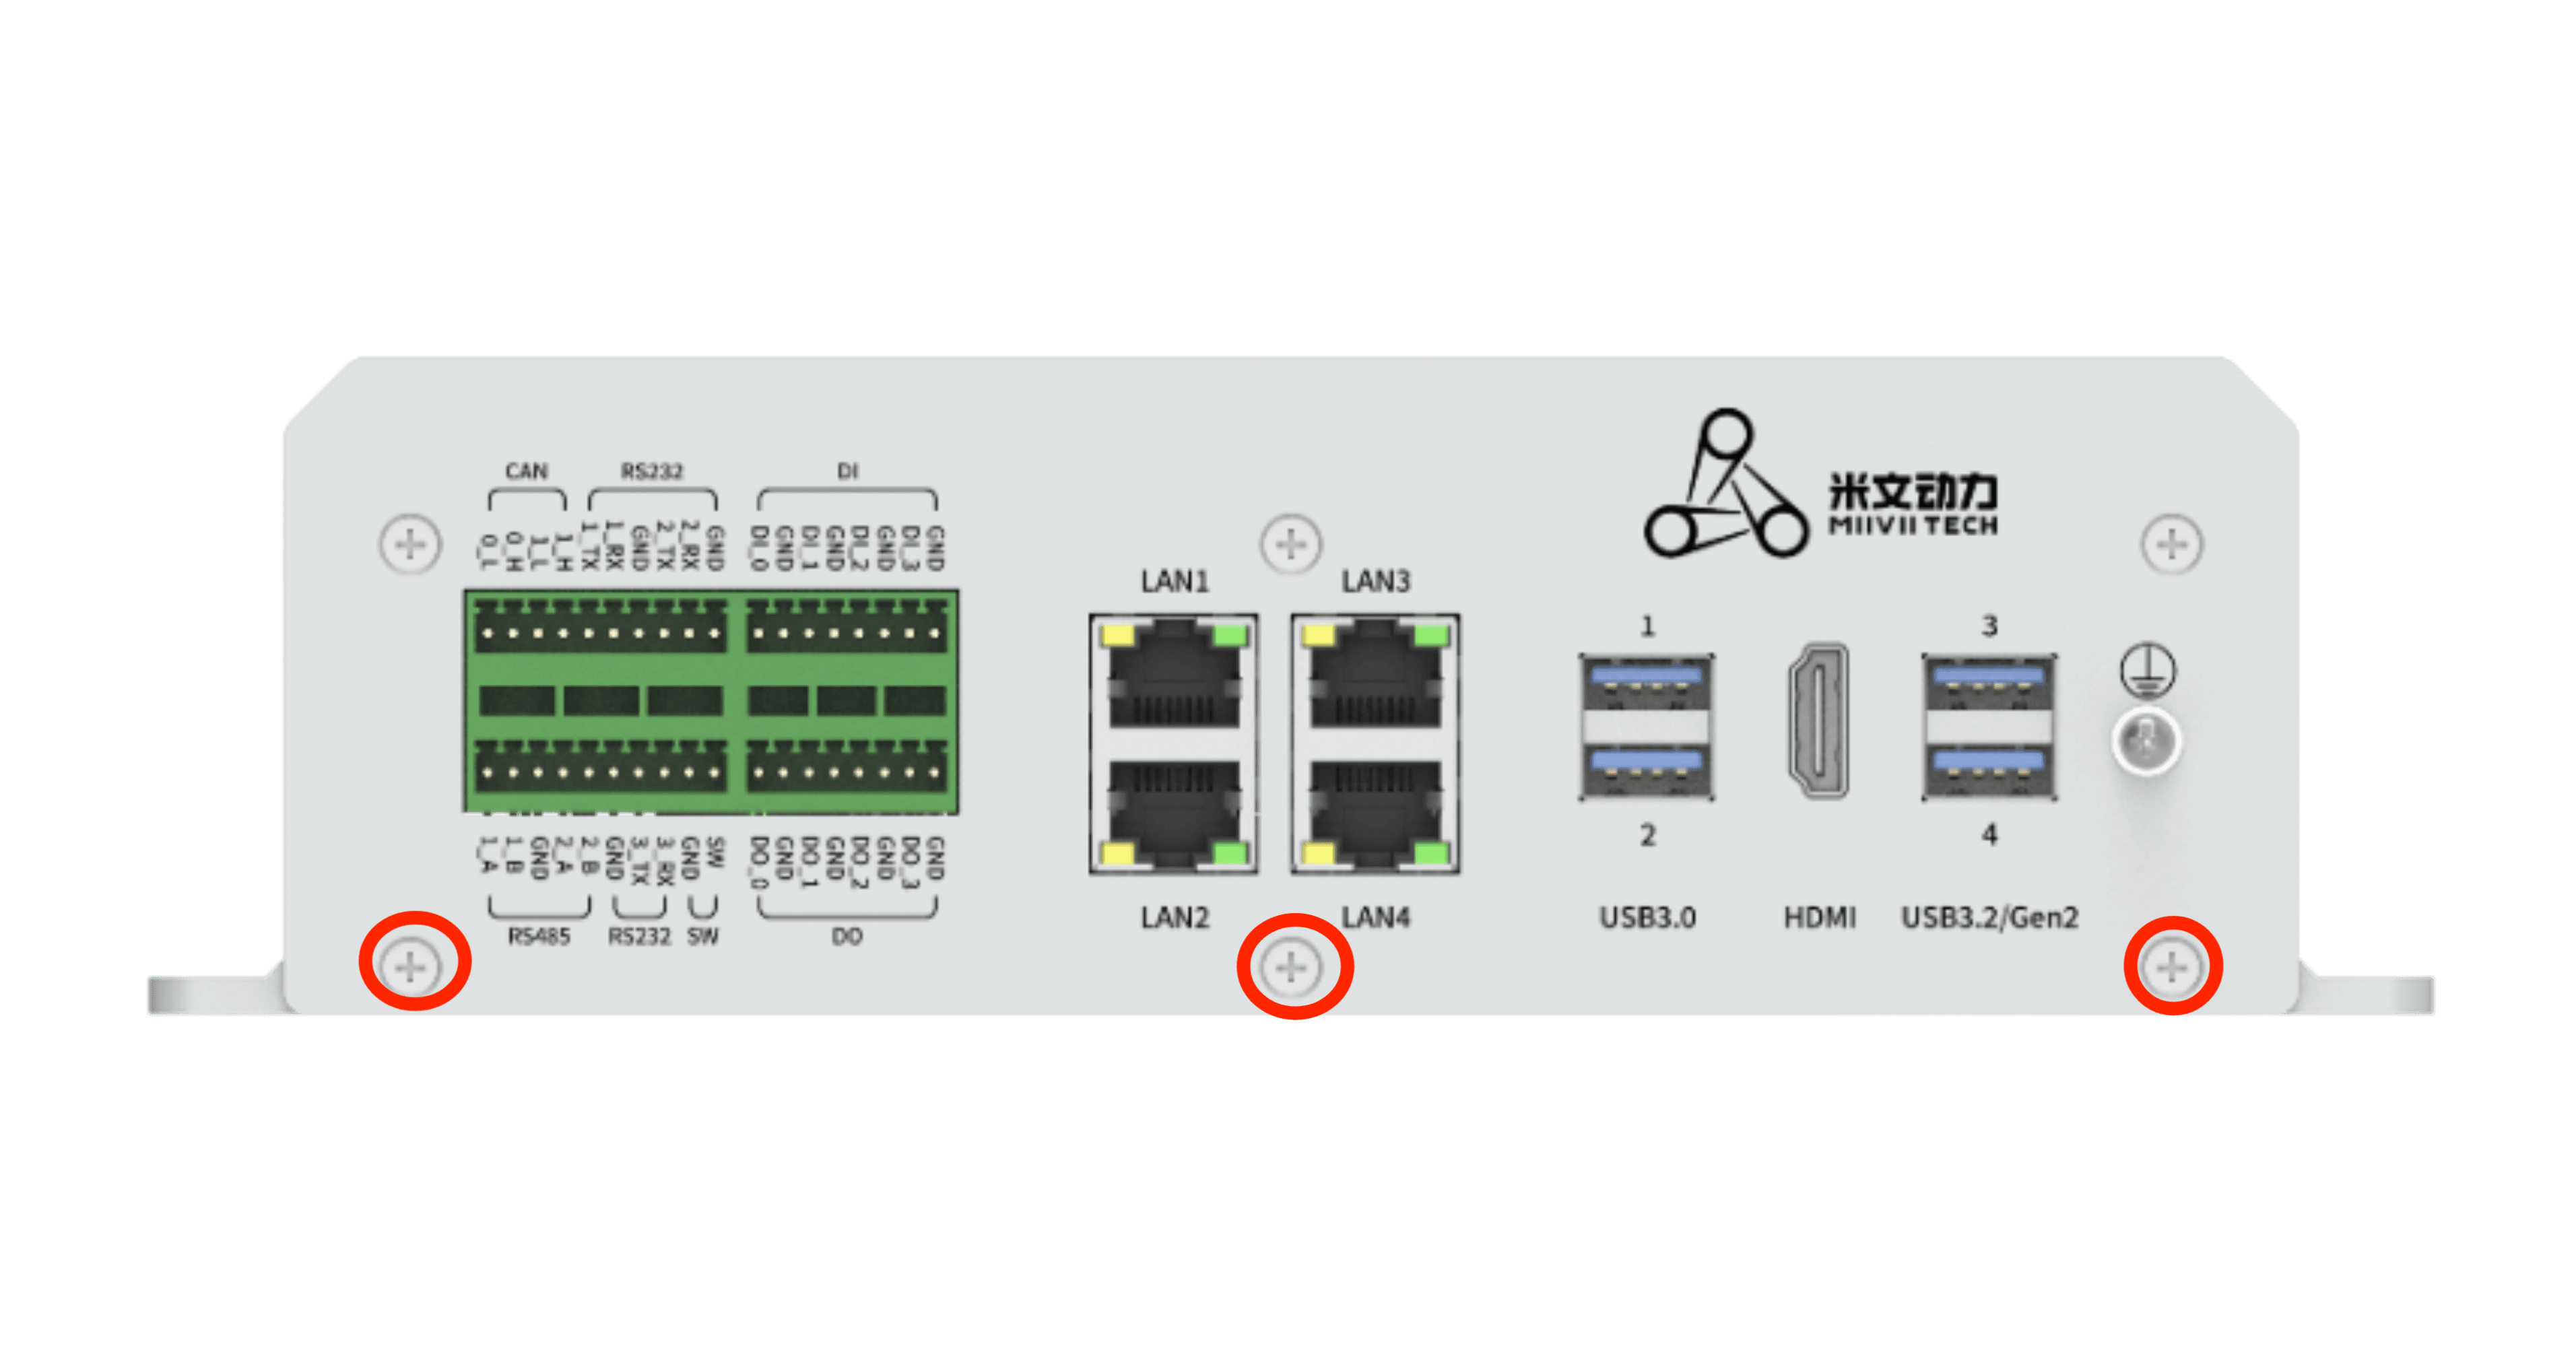
Remove the following panel:#
Left:#

Right:#
#
Front:#
#

Back:#
#
SSD Installation:#
Installation Steps:#
Install the SSD on the EVA socket using one M3*6 cross-head screw with adhesive.
Attach a thermal pad to the SSD with a thickness of 2.5mm.
Reference Image:#

Required Accessories:#
SSD x1
M3*6 Cross-Head Screw with Adhesive x1
2.5mm Thermal Pad x1
Notes:#
A thermal pad is required for the 4G/5G module to facilitate heat dissipation.
M. 2 SSD hard disk#
Check ssd information:
sudo fdisk -lu
Figure screenshot of viewing hard disk information page
Format hard disk:
sudo mkfs -t ext4 /dev/nvme0n1
Figure screenshot of formatted hard disk
View hard disk UUID:
sudo blkid /dev/nvme0n1
Figure screenshot of hard disk UUID
Setting method of automatic mounting SSD:** Create a systemd service in the /etc/systemd/system path to automatically mount the **SSD when booting, such as: miivii_mount_ssd.service
#创建服务miivii_mount_ssd.service
vim miivii_mount_ssd.service
[Unit]
Description=MIIVII specific script
After=udev.service

[Service]
ExecStart=/etc/systemd/miivii_mount_ssd.sh

[Install]
WantedBy=multi-user.target
Create a script under the path of / etc / SYSTEMd / to mount the hard disk, such as miivii_ mount_ ssd. sh
#创建服务脚本miivii_mount_ssd.sh
vim miivii_mount_ssd.sh
#!/bin/bash
mount -o rw /dev/nvme0n1 /home/nvidia/workspace
change mode for this script
sudo chmod +x miivii_mount_ssd.sh
Set the mounted SSD service to start at boot
sudo systemctl enable miivii_mount_ssd.service