EVO ONX GPIO Usage#
GPIO Pin Definition#
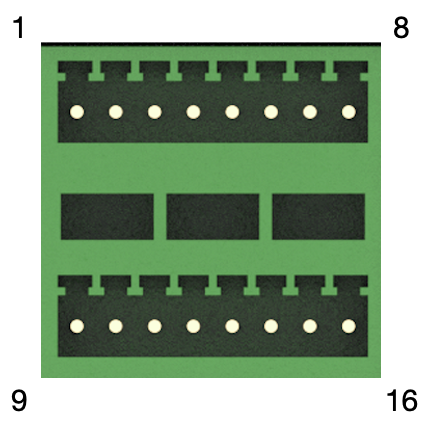
Interface |
Pin Number |
Description |
Device Node |
|---|---|---|---|
DI_0 |
1 |
GPIO IN |
271 |
DI_1 |
3 |
GPIO IN |
270 |
DI_2 |
5 |
GPIO IN |
269 |
DI_3 |
7 |
GPIO IN |
268 |
DO_0 |
9 |
GPIO OUT |
272 |
DO_1 |
11 |
GPIO OUT |
273 |
DO_2 |
13 |
GPIO OUT |
274 |
DO_3 |
15 |
GPIO OUT |
275 |
DIGND |
2、4、6、8、 |
DIground |
/ |
DOGND |
10、12、14、16 |
DOground |
/ |
The voltage of DIDO is isolated from the input voltage
DI Hardware Specification#
Voltage |
|
|---|---|
Logic level is high |
3.75V ~ 24V |
Logic level is low |
0V ~ 2V |
DI Usage#
#
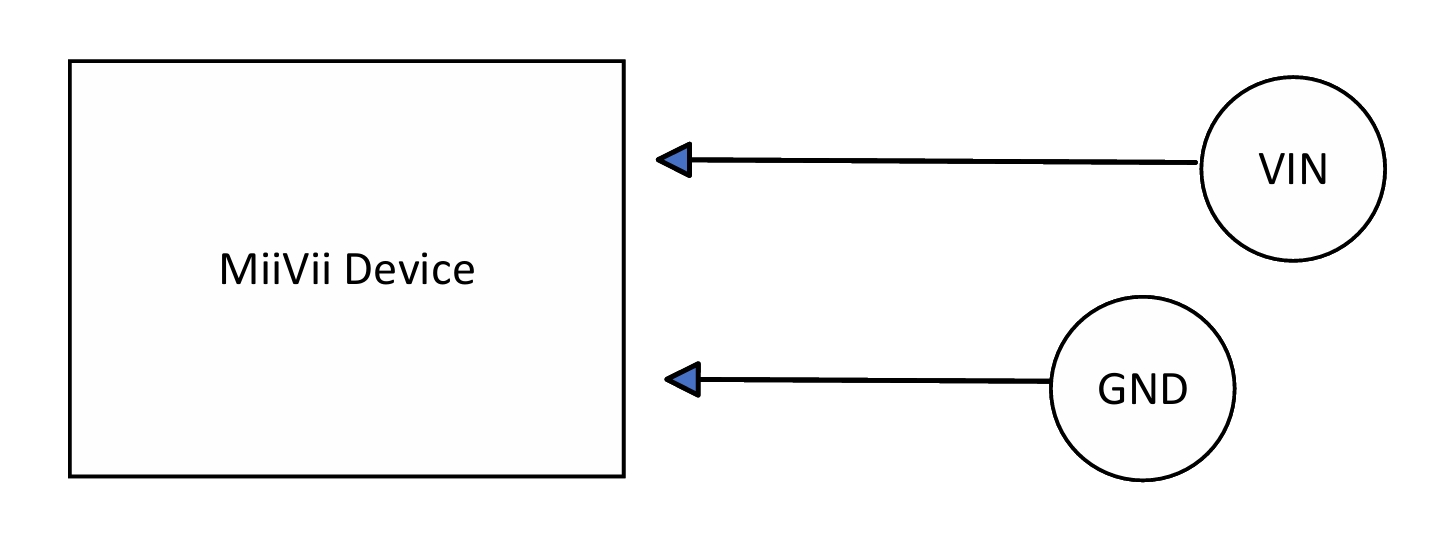
Description |
|
|---|---|
Vin |
Input Voltage |
GND |
Ground |
The example of using the GPIO interface is as follows.
# switch to root
sudo su -
# Read Data(DI)
cat /sys/class/gpio/<device node name>/value
# Example: cat /sys/class/gpio/gpio339/value
DO Hardware Specification#
Voltage |
|
|---|---|
Logic level is high |
3.3V/5V/12V/24V |
Logic level is low |
0V |
DO Usage#
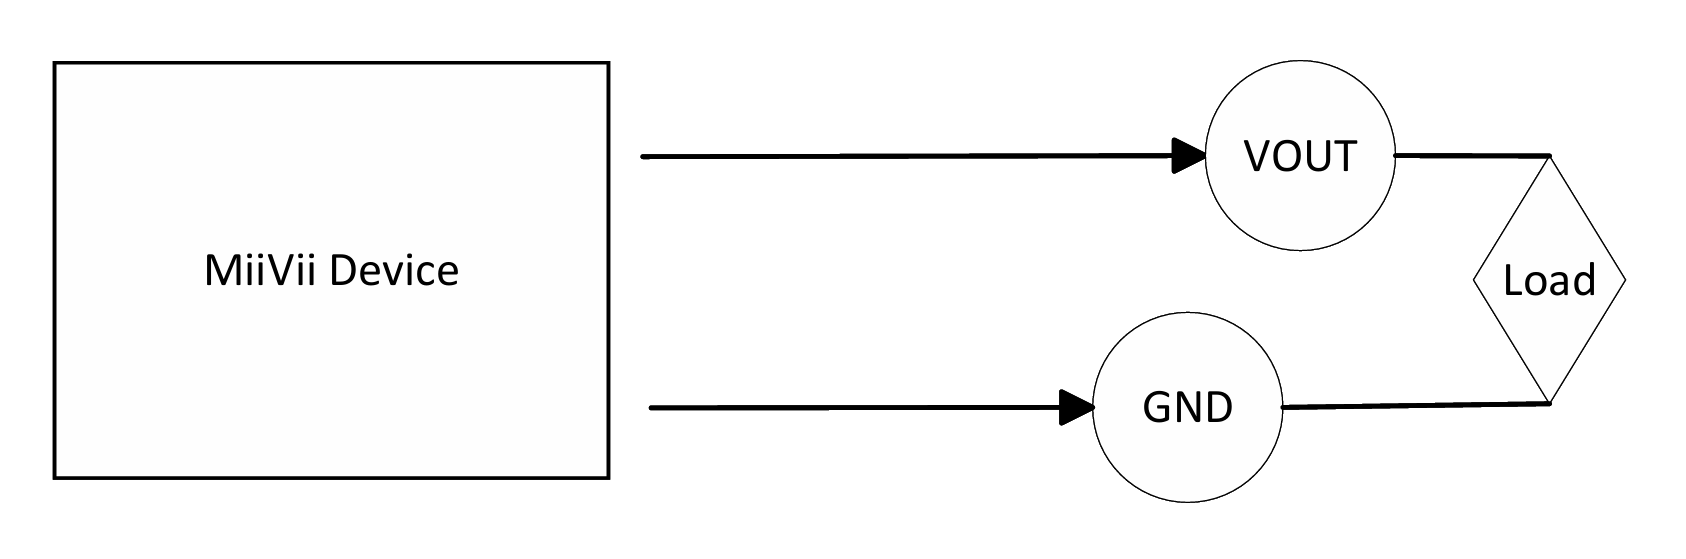
Description |
|
|---|---|
Vout |
Output voltage |
GND |
Ground |
Load |
Load |
The example of DO interface is as follows. Please modify the < > information to the DO node number to be adjusted. modify the information to the output voltage to be adjusted,For the specific correspondence, please refer to the [pin number] section
sudo su -

echo 1 > /sys/class/gpio/<gpio339>/value

sudo /usr/local/bin/volout.sh 3.3

echo 0 > /sys/class/gpio/<gpio339>/value

cat /sys/class/gpio/<gpio339>/value