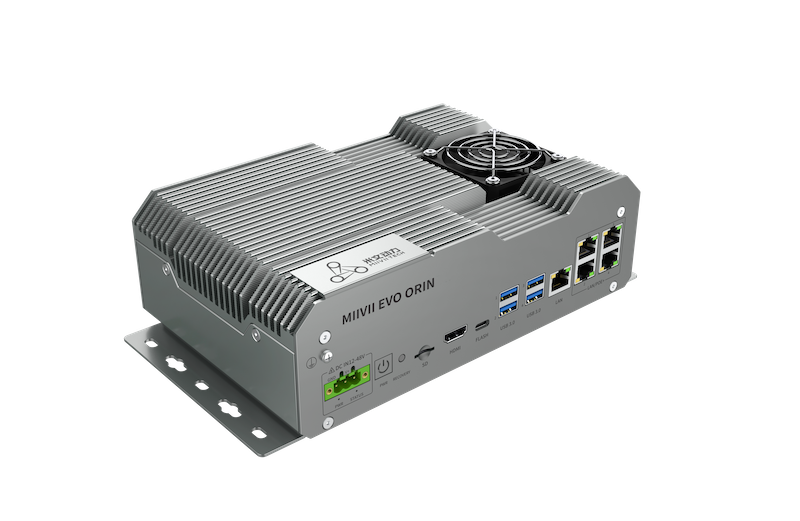
EVO ORIN Web GUI#
Access Method:#
Method1- Access shortcut on local desktop:#
Double-click the desktop shortcut of “MIIVII WEBSETINGS” ,open the application of MIIVII WEBSETINGS
The login user must have root permission . The user without root permission cannot use it .
Default ID : nvidia Default PWD: nvidia.
Method2- Access local browser:#
Open local browser
Input http://127.0.0.1:3000
The login user must have root permission . The user without root permission cannot use it .
Default ID : nvidia Default PWD: nvidia
Method3- Access browser of client PC in same LAN:#
Open browser of client PC in same LAN
Input “ The LAN IP of device + port number”,port number is 3000 . For example http://192.168.1.100:3000
The login user must have root permission . The user without root permission cannot use it .
Default ID : nvidia Default PWD: nvidia
Function Description#
Switching between Chinese and English interface#
In the upper right corner of the page ,click the switch button
, The interface can be switched between Chinese and English .
(Chinese/English switching is available from MWS V2.5.x and later versions)


System Status#
View basic information about the current system, such as CPU usage, memory usage, and storage usage.
Click “System Status” on the left menu bar to enter the page.

You can also view the system version on the CLI():
cat /etc/miivii_release
APEX 4.2.2-1.5.0
System Settings#
Set up basic system functions, such as system timing Settings, GMSL camera Settings and so on.
GMSL Settings#
Click the left menu bar “System Settings -GMSL Settings” to enter the page.
Select the camera model for each channel
Click “Save” Button
After a while, the system will indicate that GMSL is set up successfully, and you can use the GMSL camera.
Sync Settings (system timing Settings)#
Click the left menu bar “System Set - SYCN Set” to enter the page.
Choose external timing mode : NTP/GPS/NONE.
“NTP” is the default mode. NTP network timing mode:
The device is connected to the network and timed by the NTP service. The device can be used as a synchronous source to time and synchronize the sensor.
“GPS” is GPS external timing mode:
In this case, the device is connected to GPS and timed by GPS. The device can be used as a synchronization source to time and synchronize the sensor.
“None” is the asynchronous mode. In this case, the device is not timed but can be used as the synchronization source.
Set Sync out :
Adjust the Sync out output frequency. Note that this is not the GMSL frequency.

/opt/miivii/config/sync/sync.cfg
The timing mode is implemented by modifying the X value of “sync_type:X”.
0: GPS external timing mode
1: NTP network timing mode
2: Asynchronous mode
Adjust the Sync out frequency by changing the XX value of “SYNC_out_freq :XX”. This adjustment supports only integers.
cat /opt/miivii/config/sync/sync.cfg
sync_out_freq:25
sync_type:2
/*
note:
sync_out_freq---the frequency is 25 for sync out time
sync_type---0 is for GPS calibrate time
1 is for SYS calibrate time
2 can not calibrate time
System Upgrade#
MiiVii provides OTA upgrades to equipment systems.
Click the left menu bar “System Upgrade” to enter the page.
Click “Check Upgrade” , If have new version , click “update”.

Device Binding#
MiiVii provides the EdgeService cloud service. Enabling the cloud service requires binding devices.
Click the left menu bar “Device Binding” to enter the page.
Bind the device as prompted. Use wechat to scan.

The log export#
System run logs are stored in logs in /var/log/,The Log Export function allows you to package and download logs to a local PC.
Click the left menu bar “Log Export” to enter the page.
Click “Export System Logs” to complete.

WEB Terminal#
MiiVii Web Settings provides the remote terminal function through the WEB.
Click “WEB Terminal” on the left menu bar to enter the page.
Click “Open terminal” to open the WEB terminal (as shown below).


