EVO ORIN DI Usage#
Hardware specifications#
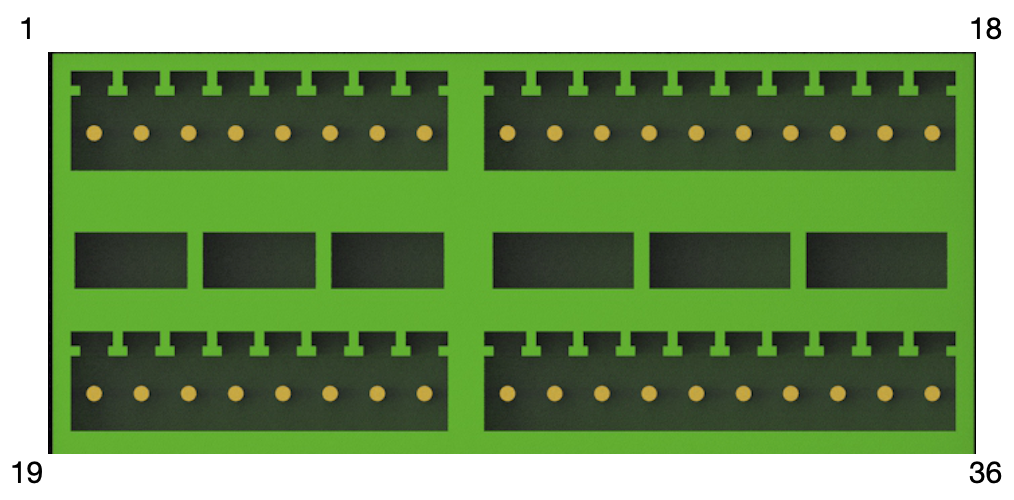
Interface |
Pin Number |
Description |
PIN No. |
Device Node |
|---|---|---|---|---|
DI_1 |
1 |
GPIO IN |
308 |
di1 |
DI_2 |
3 |
GPIO IN |
309 |
di2 |
DI_3 |
5 |
GPIO IN |
310 |
di3 |
DI_4 |
7 |
GPIO IN |
311 |
di4 |
DI_5 |
9 |
GPIO IN |
312 |
di5 |
DI_6 |
11 |
GPIO IN |
313 |
di6 |
DI_7 |
13 |
GPIO IN |
314 |
di7 |
DI_8 |
15 |
GPIO IN |
315 |
di8 |
DO_1 |
19 |
GPIO OUT |
300 |
do1 |
DO_2 |
21 |
GPIO OUT |
301 |
do2 |
DO_3 |
23 |
GPIO OUT |
302 |
do3 |
DO_4 |
25 |
GPIO OUT |
303 |
do4 |
DO_5 |
27 |
GPIO OUT |
304 |
do5 |
DO_6 |
29 |
GPIO OUT |
305 |
do6 |
DO_7 |
31 |
GPIO OUT |
306 |
do7 |
DO_8 |
33 |
GPIO OUT |
307 |
do8 |
GND |
2、4、6、8、10、12、14、16、18、20、22、 24、26、28、30、32、34、36 |
Ground |
||
DC 5V |
17 |
DC 5V OUT |
||
DC 12V |
35 |
DC 12V OUT |
Electrical Characteristics#
Vin Voltage Range |
Result |
|---|---|
5~48V |
Hight level=1 |
0~3V |
Low level=0 |
3~5V |
Not supported |
> 48V or < 0 V |
Not supported and may damage hardware |
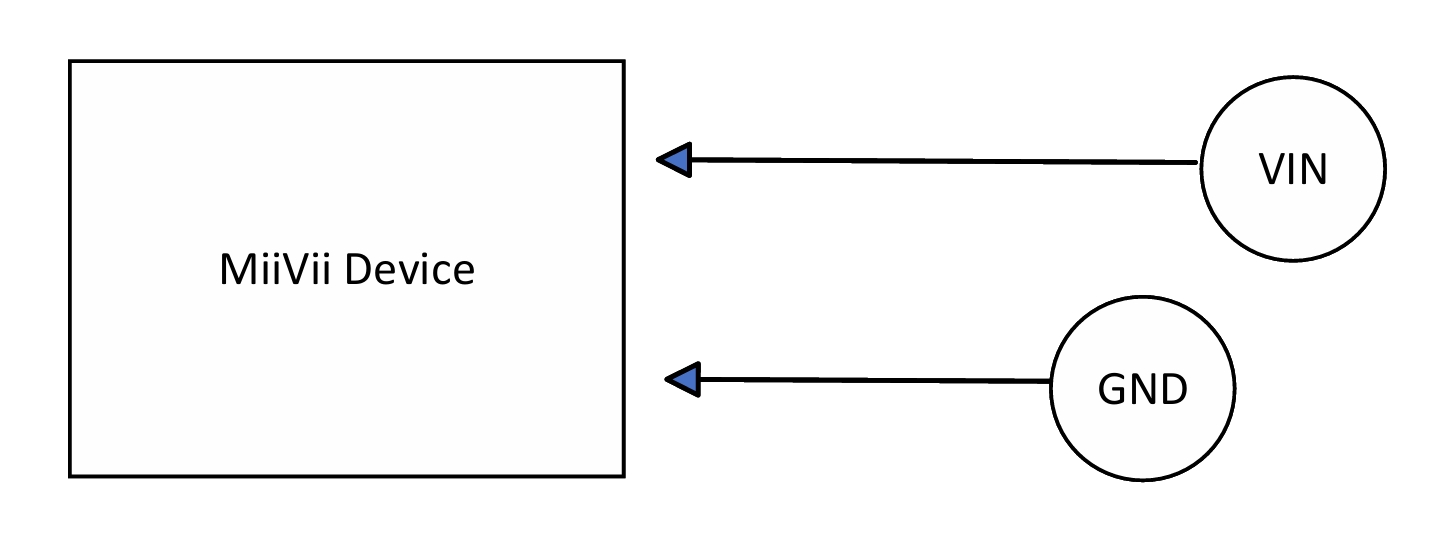
Description |
|
|---|---|
Vin |
Input Voltage |
GND |
Ground |
Software Usage#
System version below 5.x.x-x.x.x#
The example of using the GPIO interface is as follows.
# switch to root
sudo su -
# Read Data(DI)
cat /sys/class/gpio/<device node name>/value
# Example: cat /sys/class/gpio/gpio339/value
System version above 6.x.x-x.x.x#
The usage of GPIO is as below
sudo /opt/miivii/features/gpio/bin/miivii_get_di_value <DI number>
#<DI number>: Represents the sequence number of the DI. 0 represents DI0, 1 represents DI1, and so on.
#The command return value is the current level value read from the DI, where 0 represents low level and 1 represents high level.

#Example: Read the input of DI0
#sudo /opt/miivii/features/gpio/bin/miivii_get_di_value 0
Compile sample code
cp -r /opt/miivii/features ~/
cd ~/features/gpio
sudo make;