Apex Xavier II+ DI Usage#
Hardware Specification#

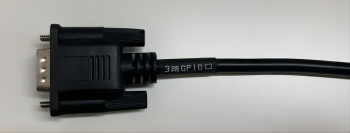
Pin Definition#
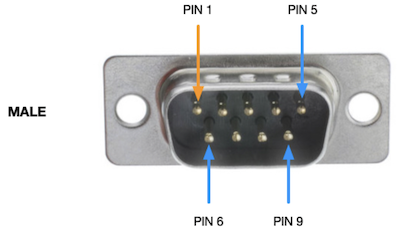
Function |
DB9 PIN Number |
Description |
Device Node |
|---|---|---|---|
DI_0 |
1 |
GPIO IN |
/dev/gpio/di0 |
DI_1 |
2 |
GPIO IN |
/dev/gpio/di1 |
DO_0 |
3 |
GPIO OUT |
/dev/gpio/do0 |
DO_1 |
4 |
GPIO OUT |
/dev/gpio/do1 |
DO_2 |
5 |
GPIO OUT |
/dev/gpio/do2 |
GND |
6-9 |
Ground |
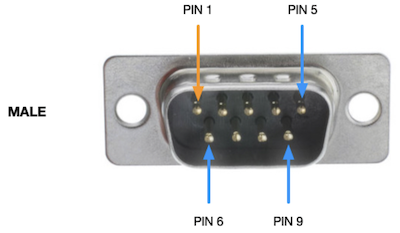
Function |
DB9 PIN Number |
Description |
Device Node |
|---|---|---|---|
DI_0 |
1 |
GPIO IN |
/dev/gpio/di0 |
DI_1 |
2 |
GPIO IN |
/dev/gpio/di1 |
DO_0 |
3 |
GPIO OUT |
/dev/gpio/do0 |
DO_1 |
4 |
GPIO OUT |
/dev/gpio/do1 |
GND |
6-9 |
Ground |
Electrical Characteristics#
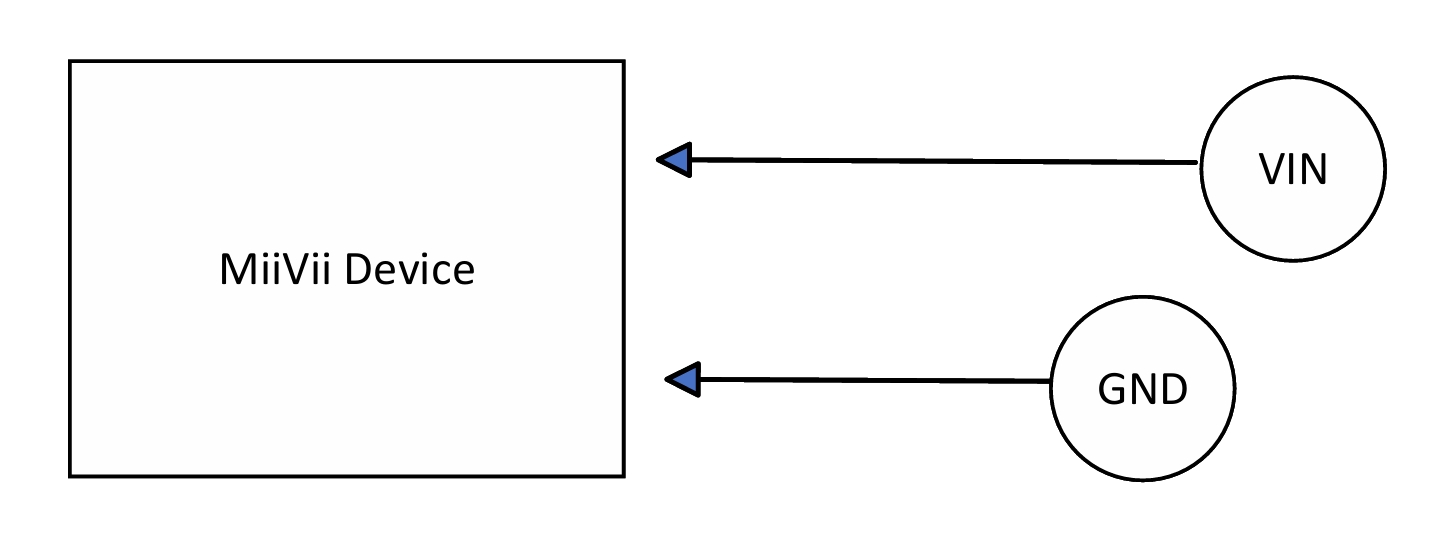
Description |
|
|---|---|
Vin |
Input Voltage |
GND |
Ground |
Vin Voltage Range |
Result |
|---|---|
1~12V |
high level=1 |
0~0.8V |
low level=0 |
> 12V or < 0 V |
Not supported and may damage hardware. |
Method of Application#
The example of using the GPIO interface is as follows.
# switch to root
sudo su -
# Read Data(DI)
cat /sys/class/gpio/<device node name>/value
# Example: cat /sys/class/gpio/gpio339/value